


In a Mag!
Made it into TANK, an Australian motorcycle publication. Was featured on returnofthecaferacers, and mentioned by bikexif and pipeburn. :)
IN DETAIL
A few more stills of the bike.
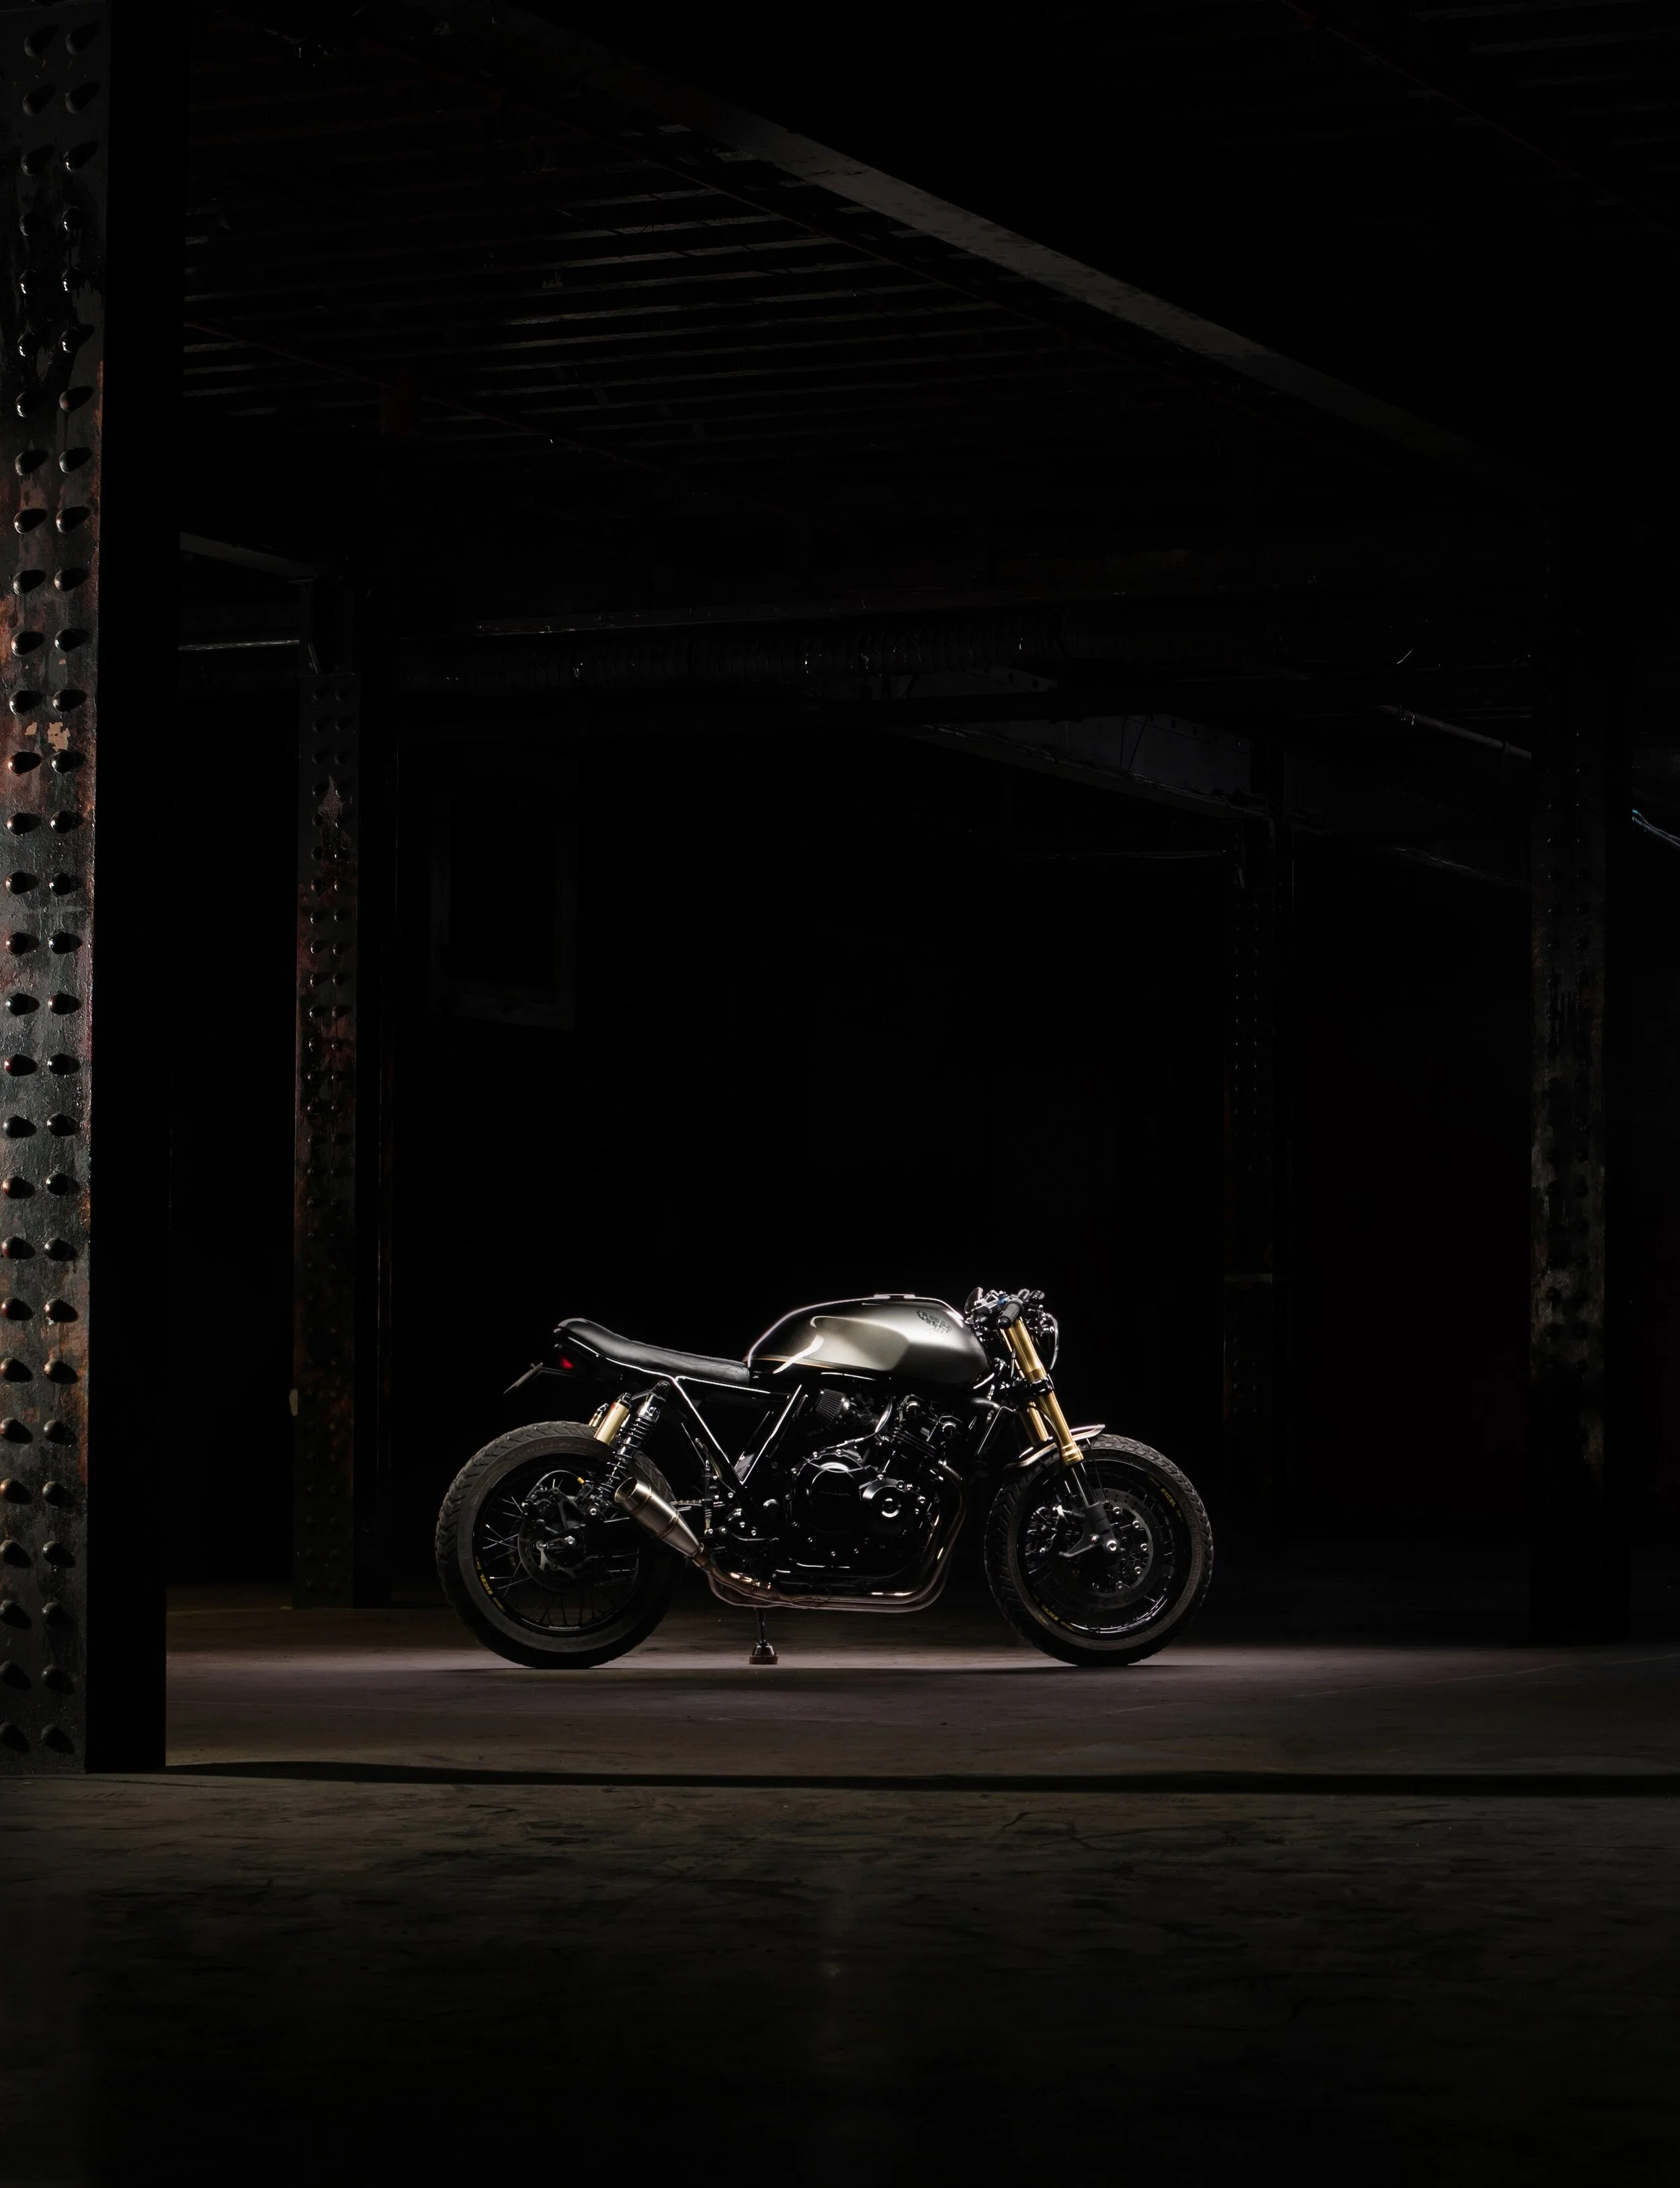
FINISH LINE
With the bike now complete, I grabbed the camera and snapped a few photos.
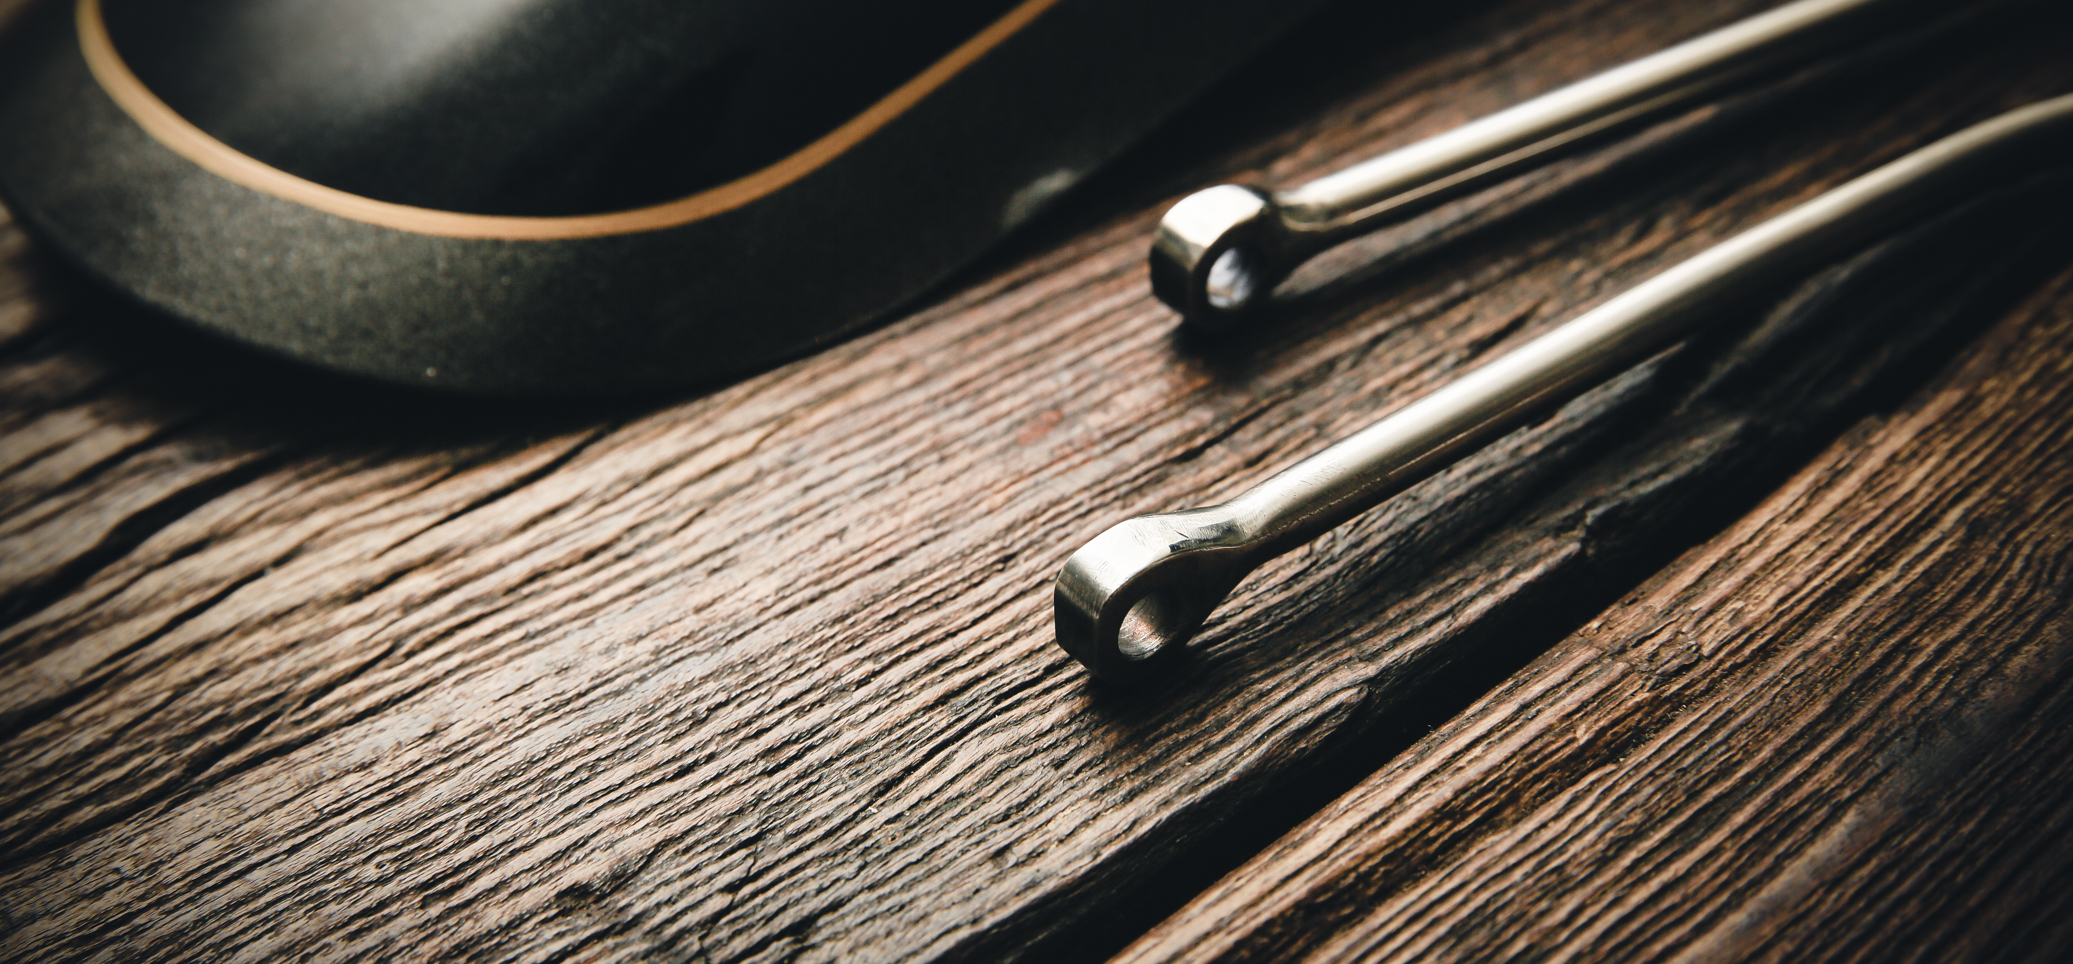
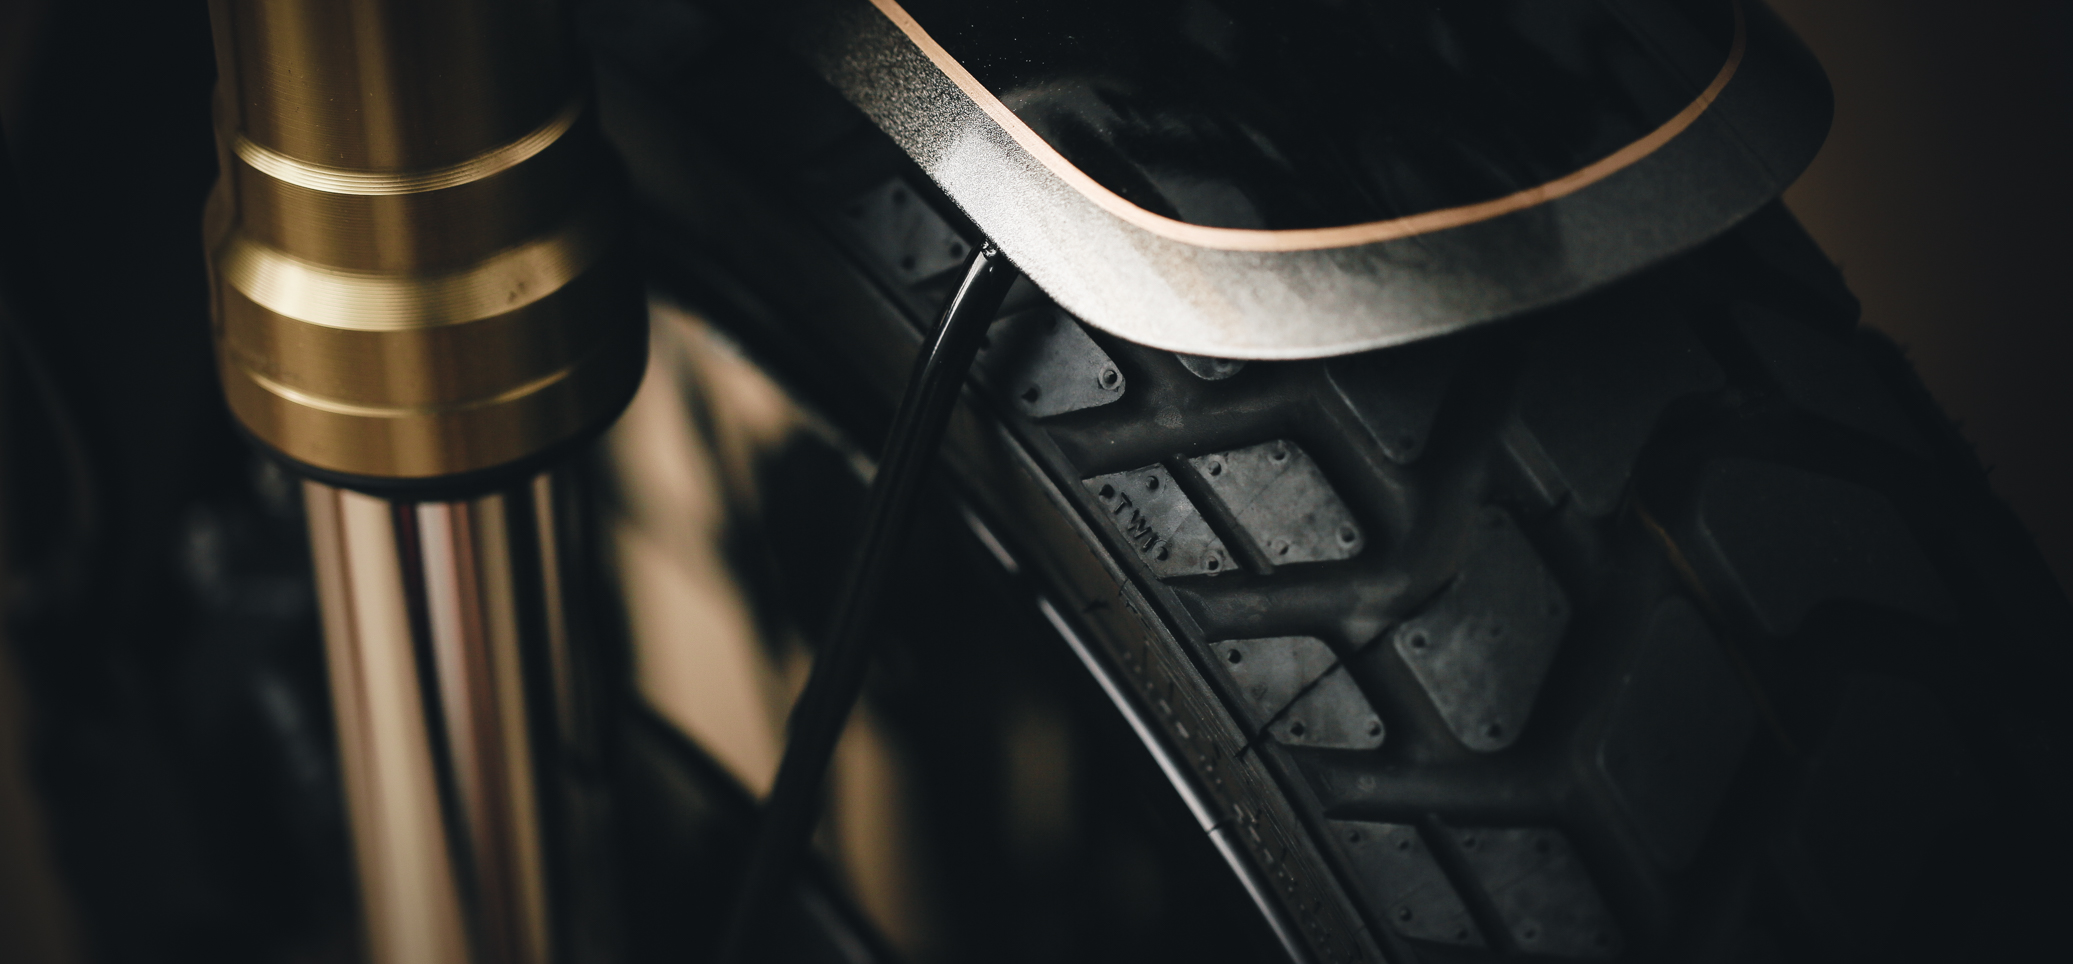
GUARD
With a bit of help, 6mm fender struts were bent to hold up the front fender. Rather than using visible fixings, the struts were glued with construction polyurethane which allowed for a lower profile. The stainless steel was then powdercoated gloss black to go with the bike.

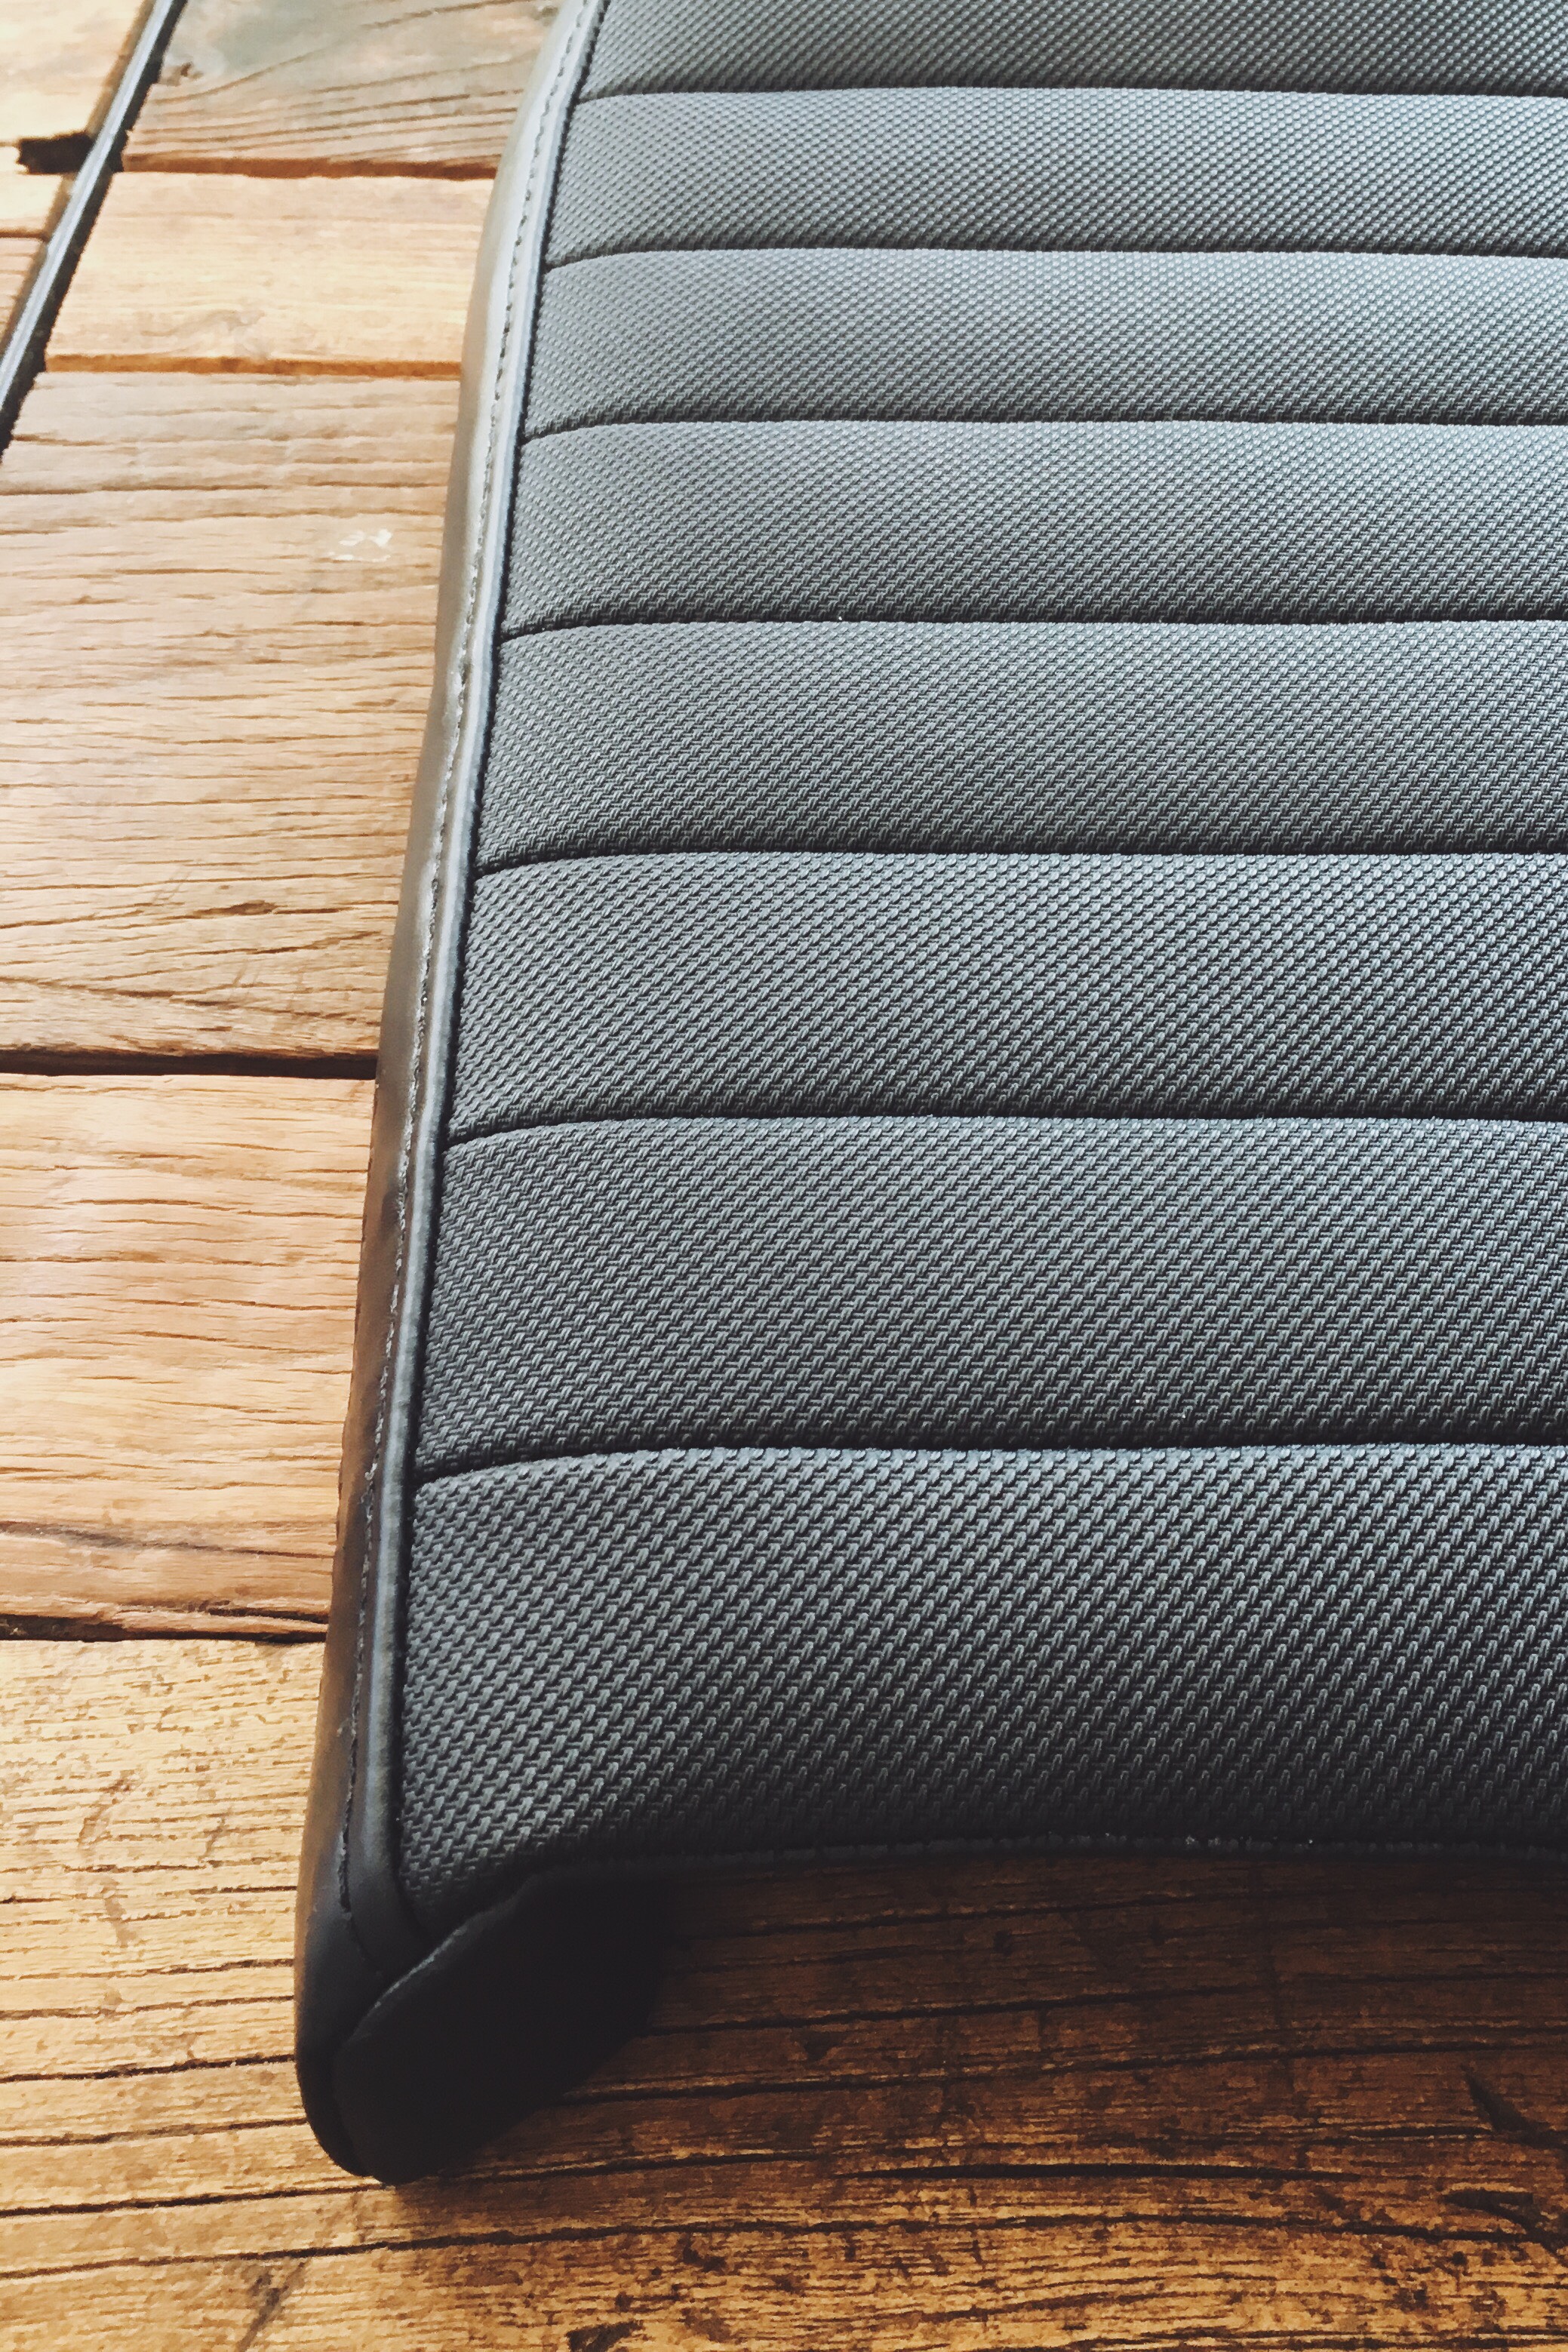
LEATHER
Searching for the right materials. Textured vinyl contrasted by finely texture de-bossed leather. Tried laser etching "03" in leather instead of de-bossing, but was worried about how it'd weather over time so ended up stamping the text instead.


ASSEMBLED
Few snaps of the bike reassembled with only seat and tank graphic work remainining.
SEAT MOCKUPS
Early seat concept which was meant to be moulded in self skinning polyurethane. Below is a polystyrene mock-up used for fitment check. This concept due to it's extremely high cost and limitations is likely to be dropped in favour of a more traditional finish.


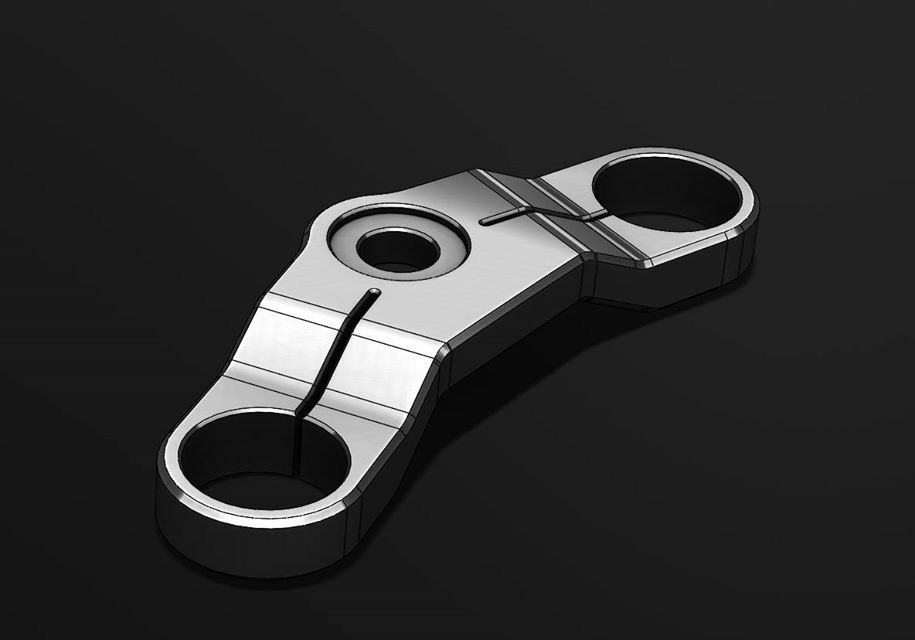
TRIPLE & SPROCKET
Top triple and sprocket cover design. (More images to come)


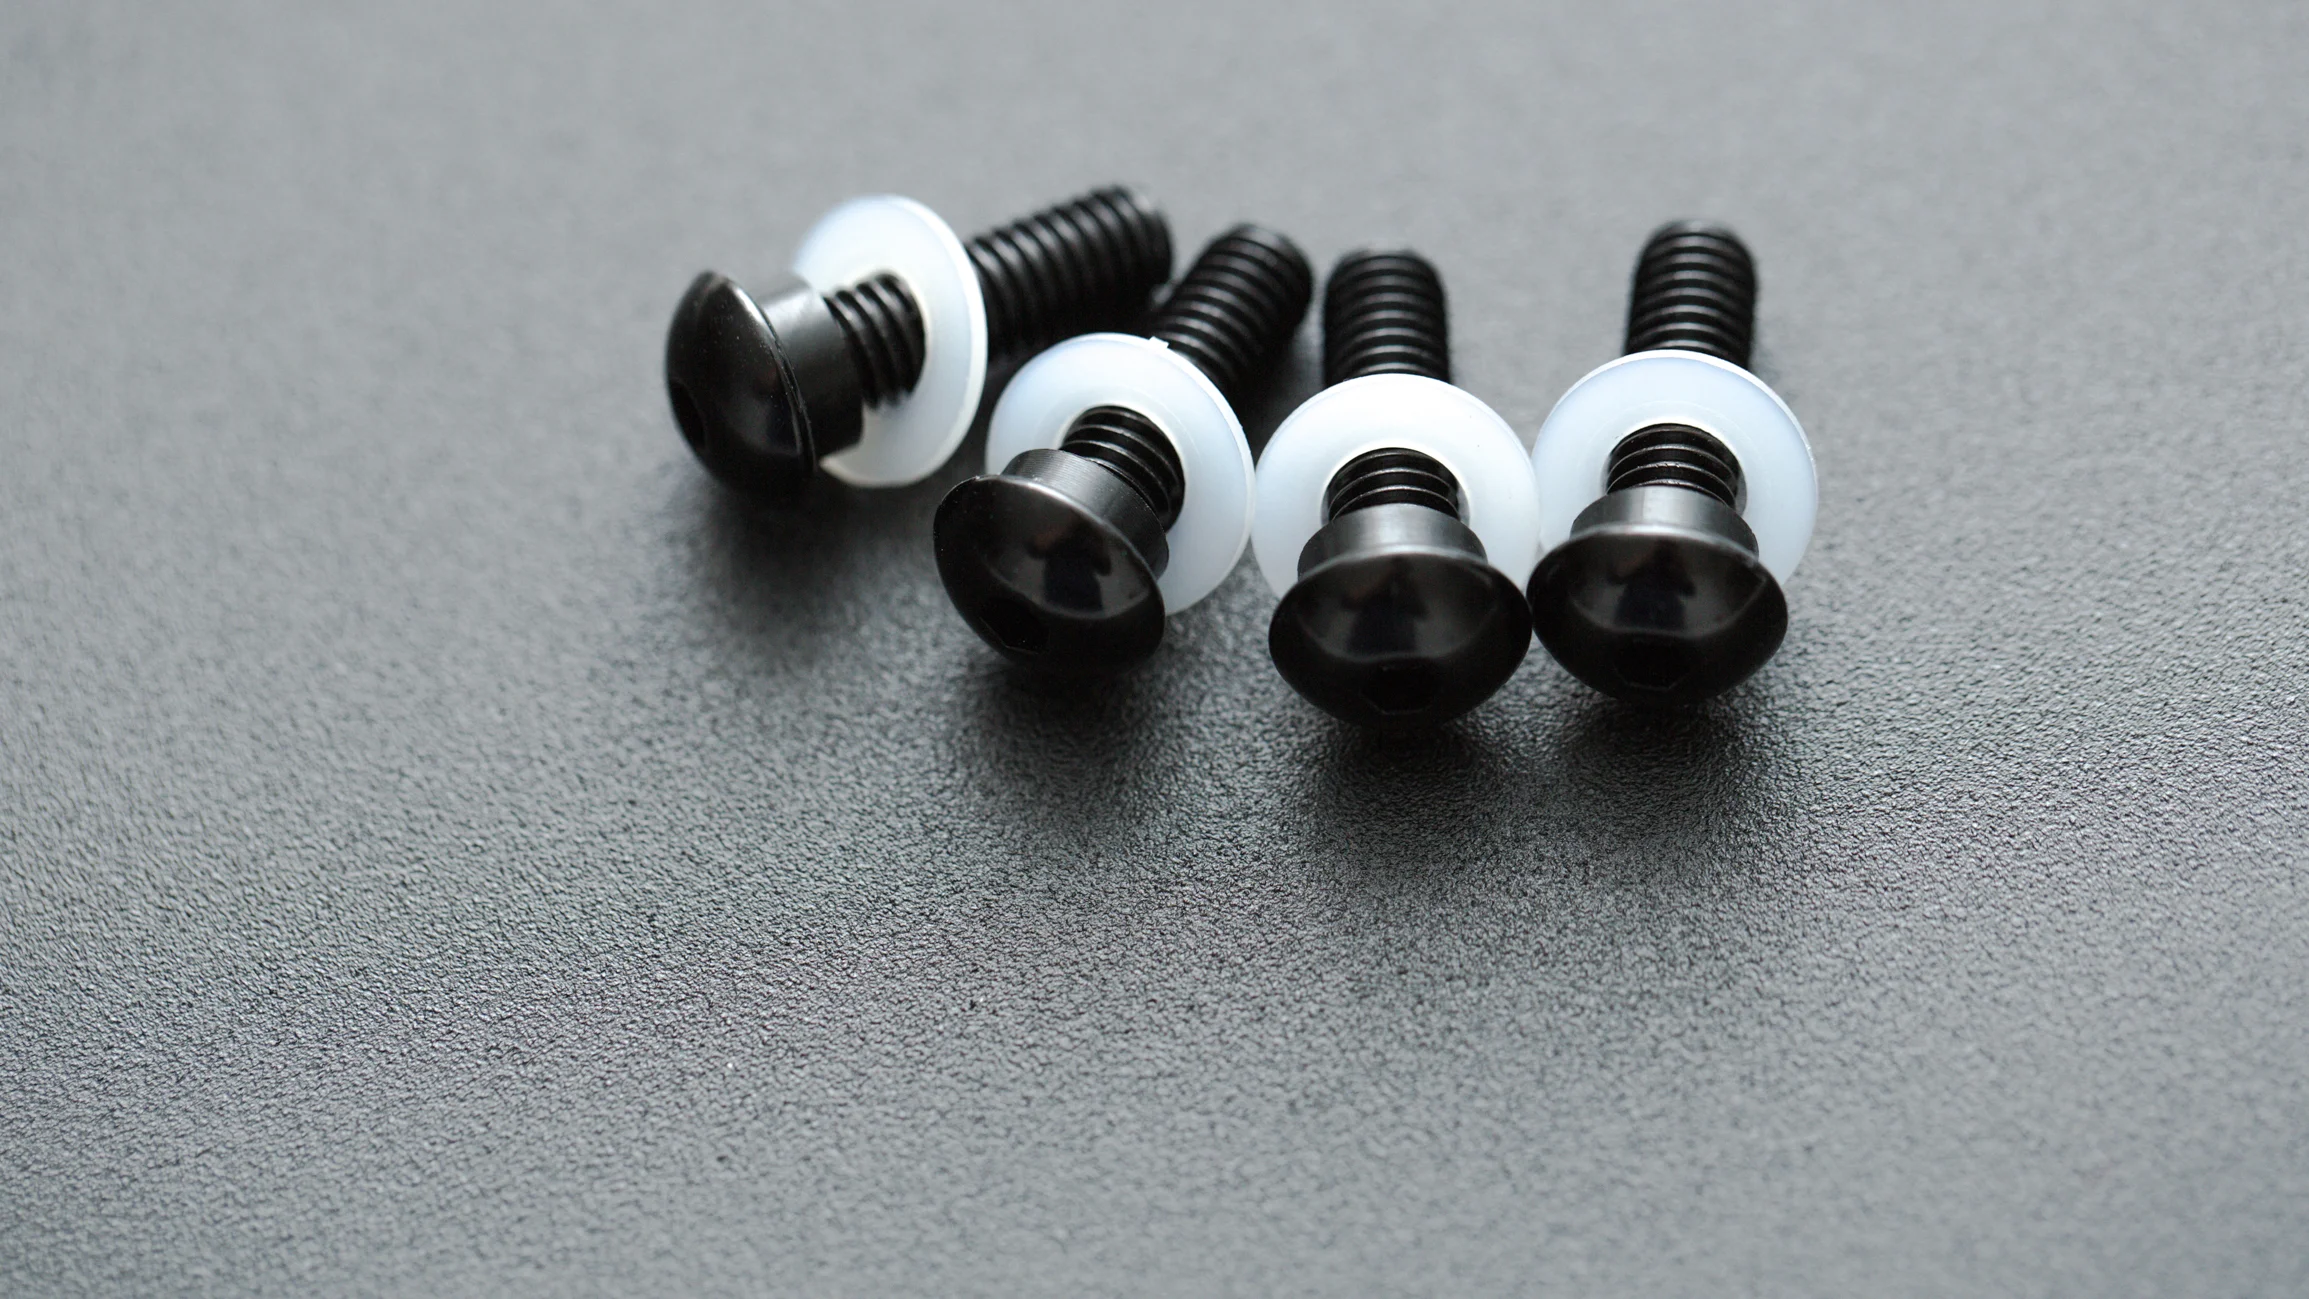
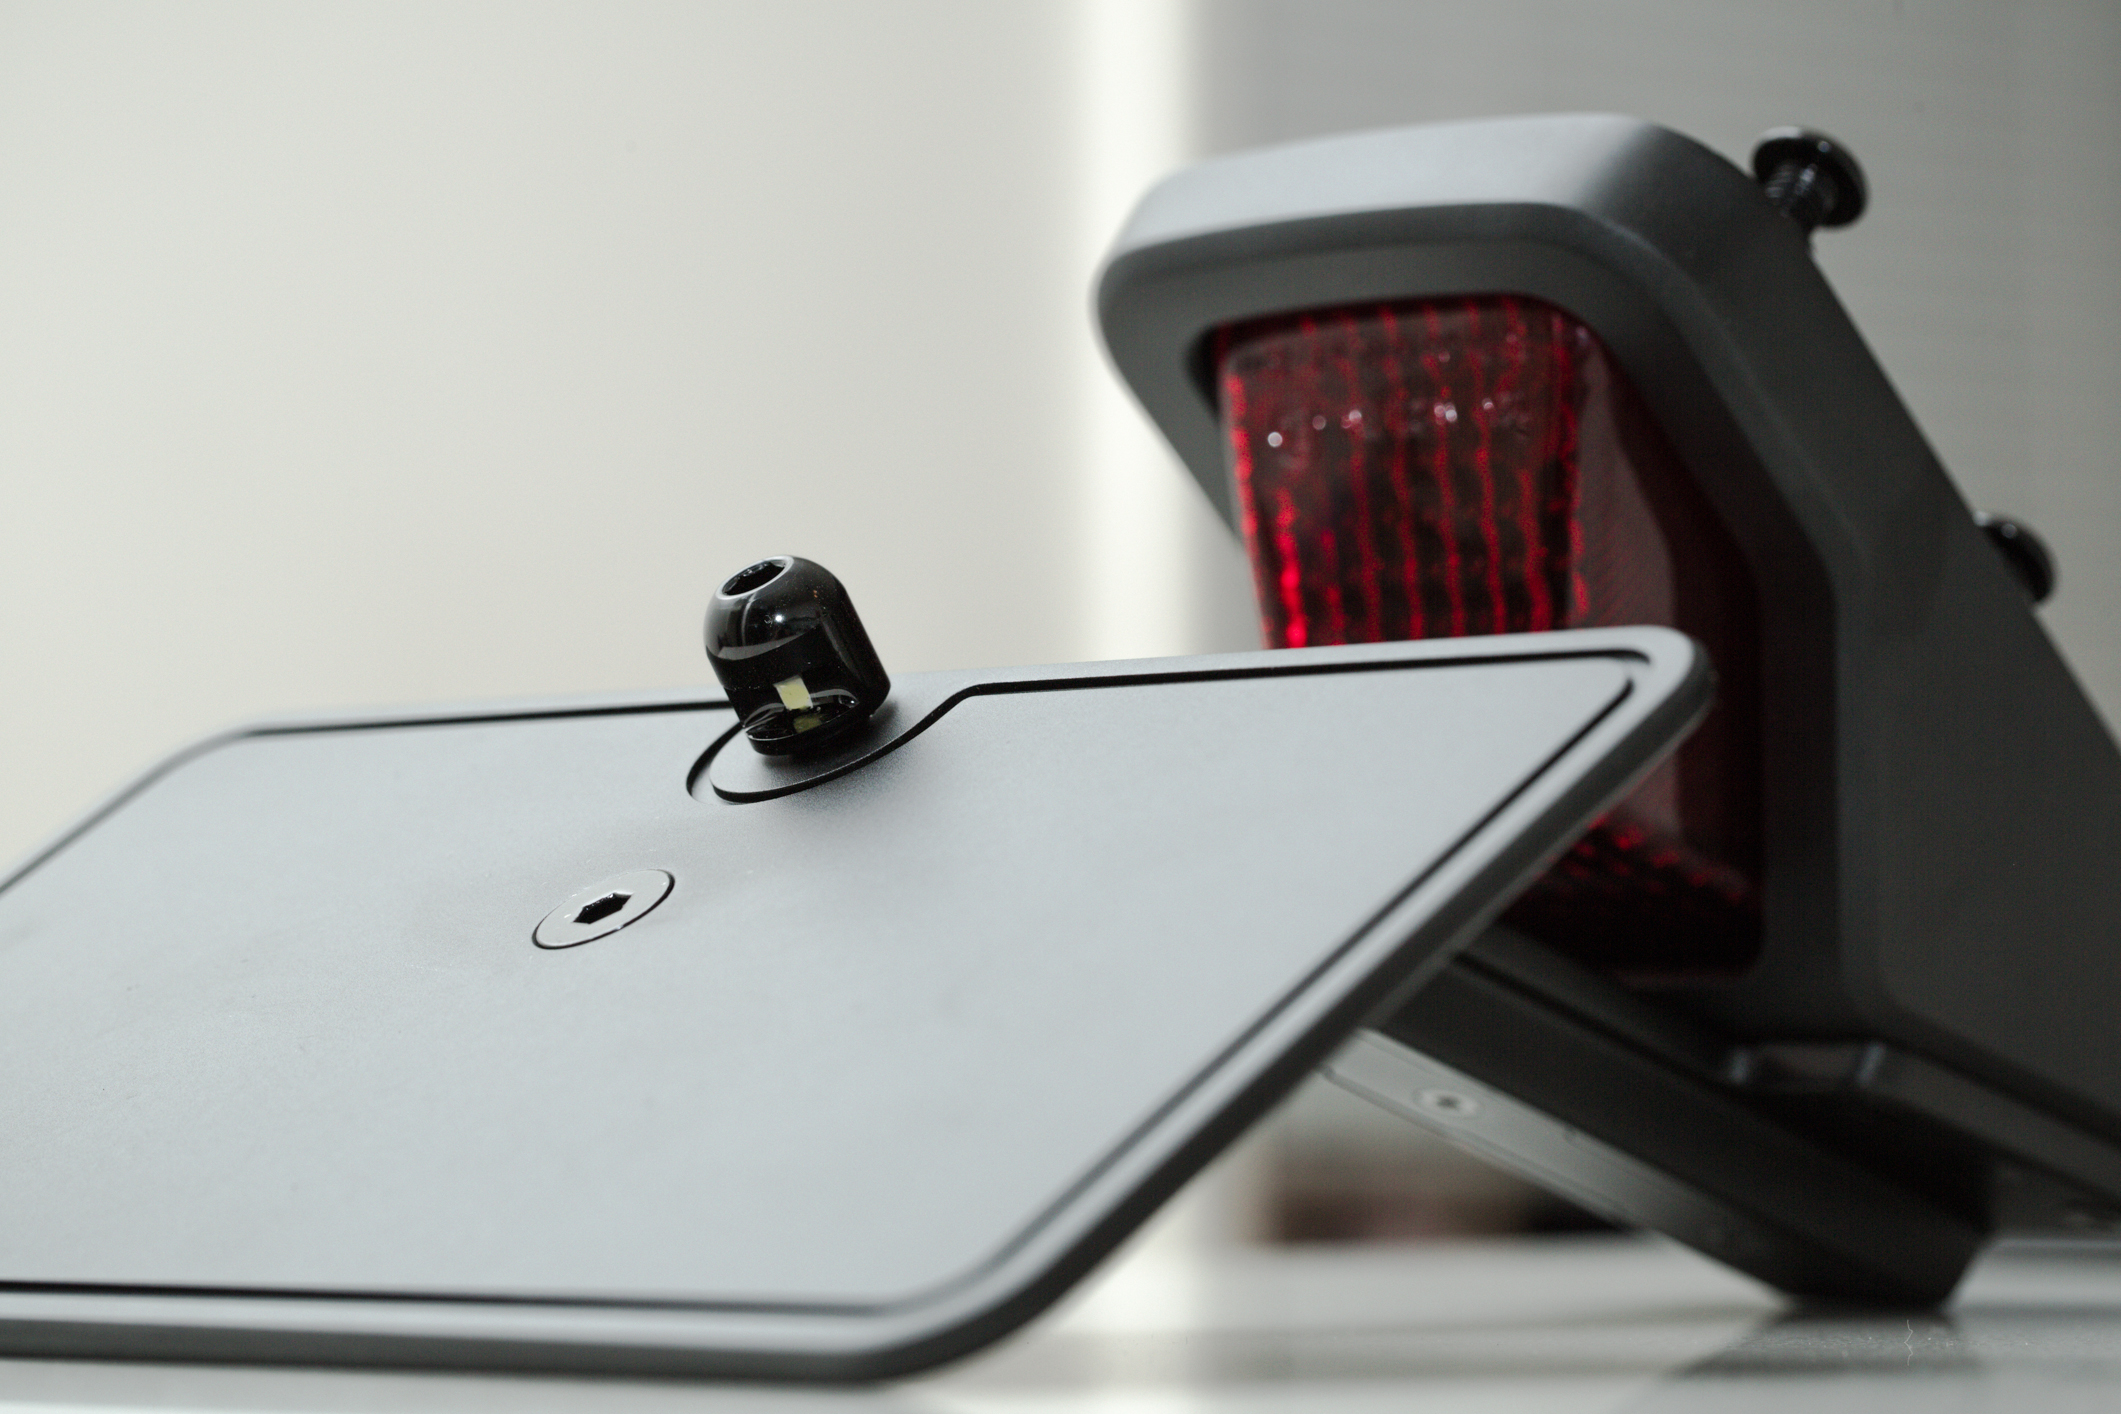
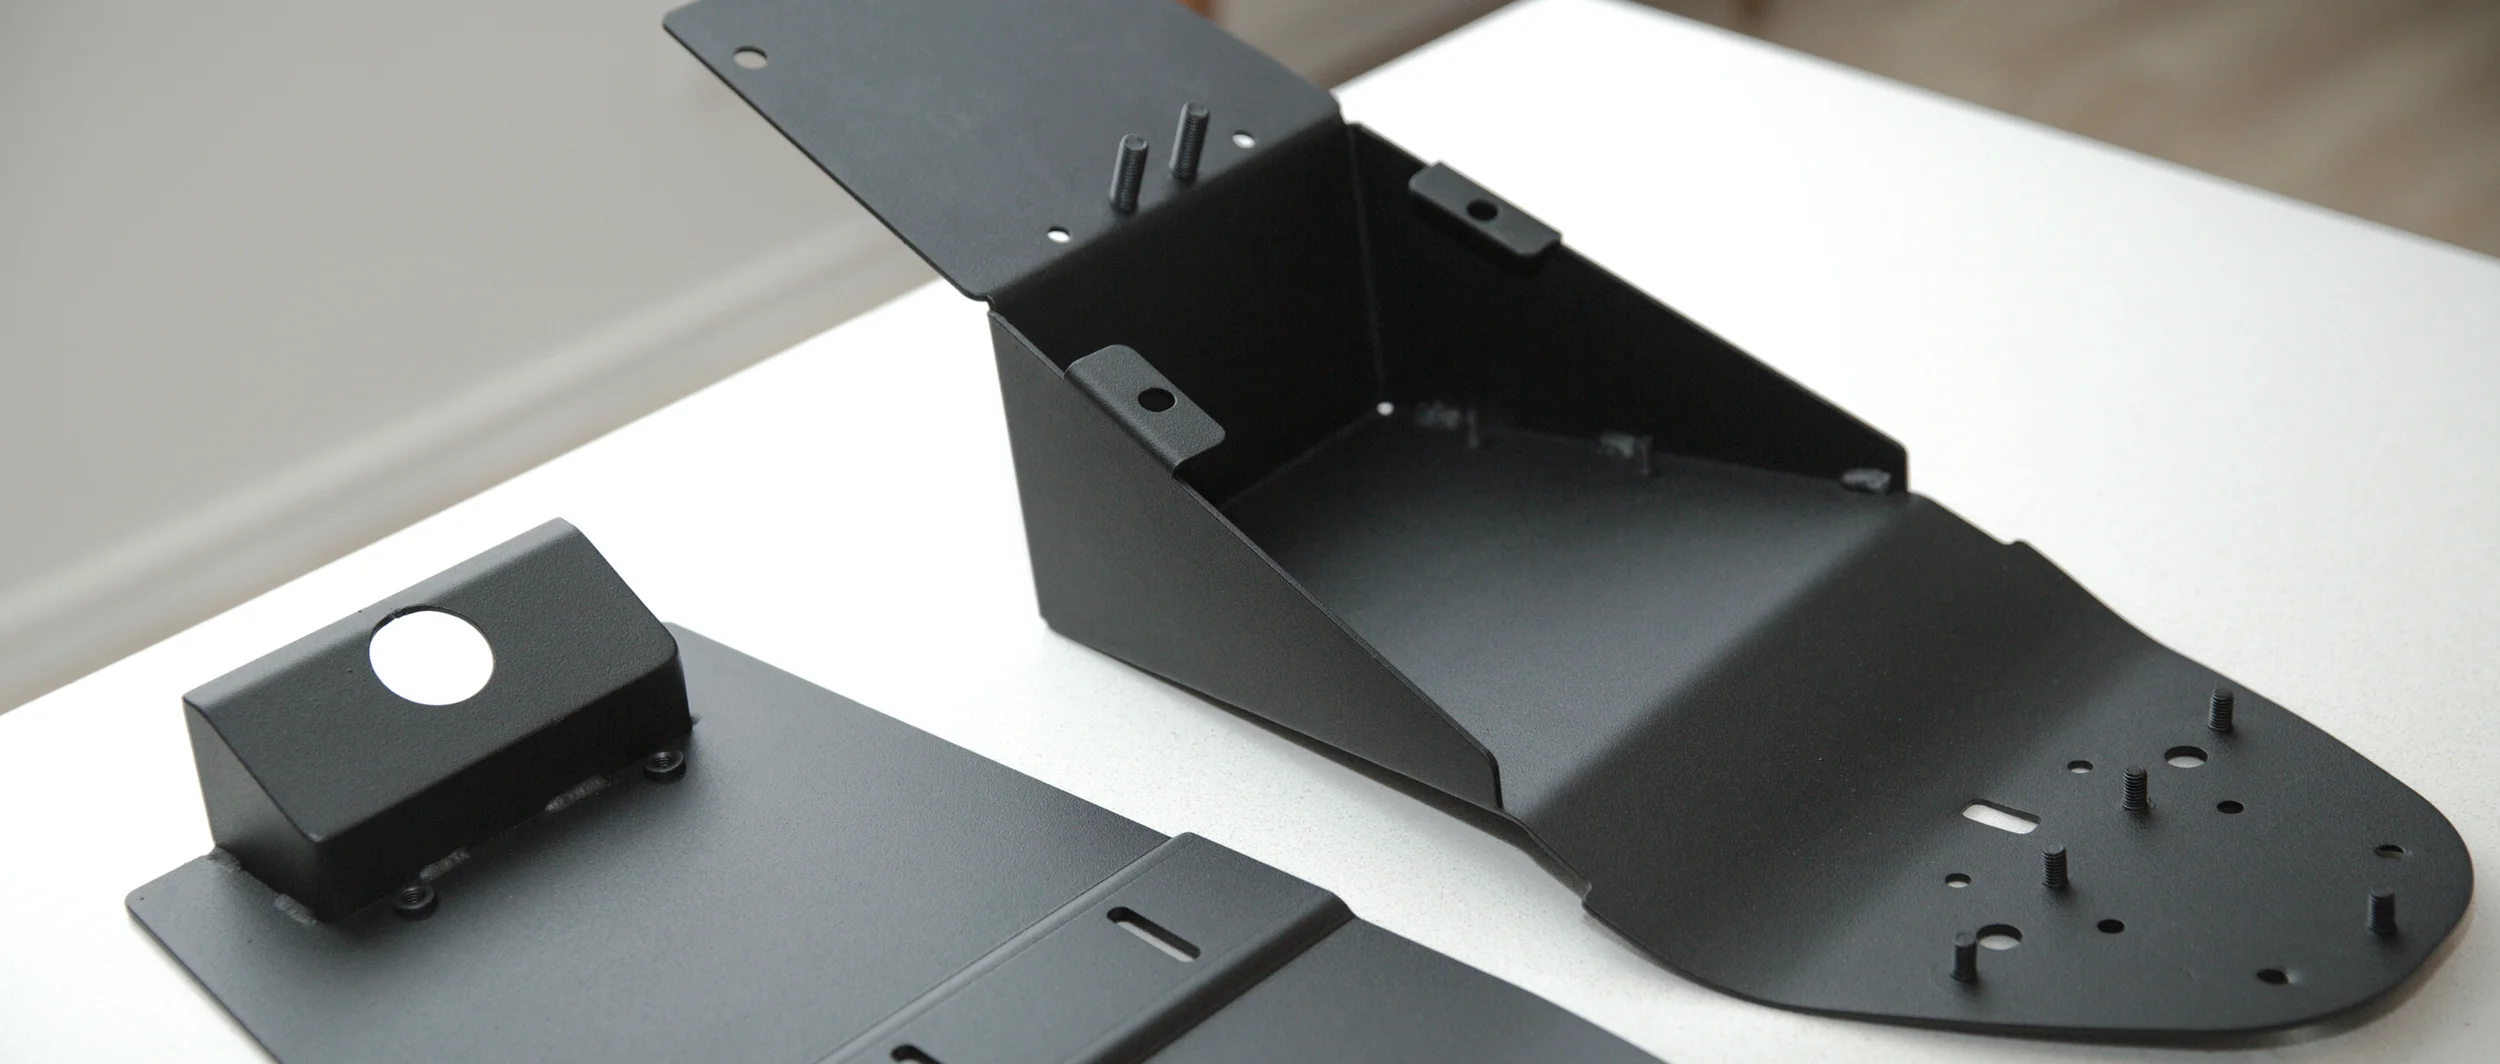
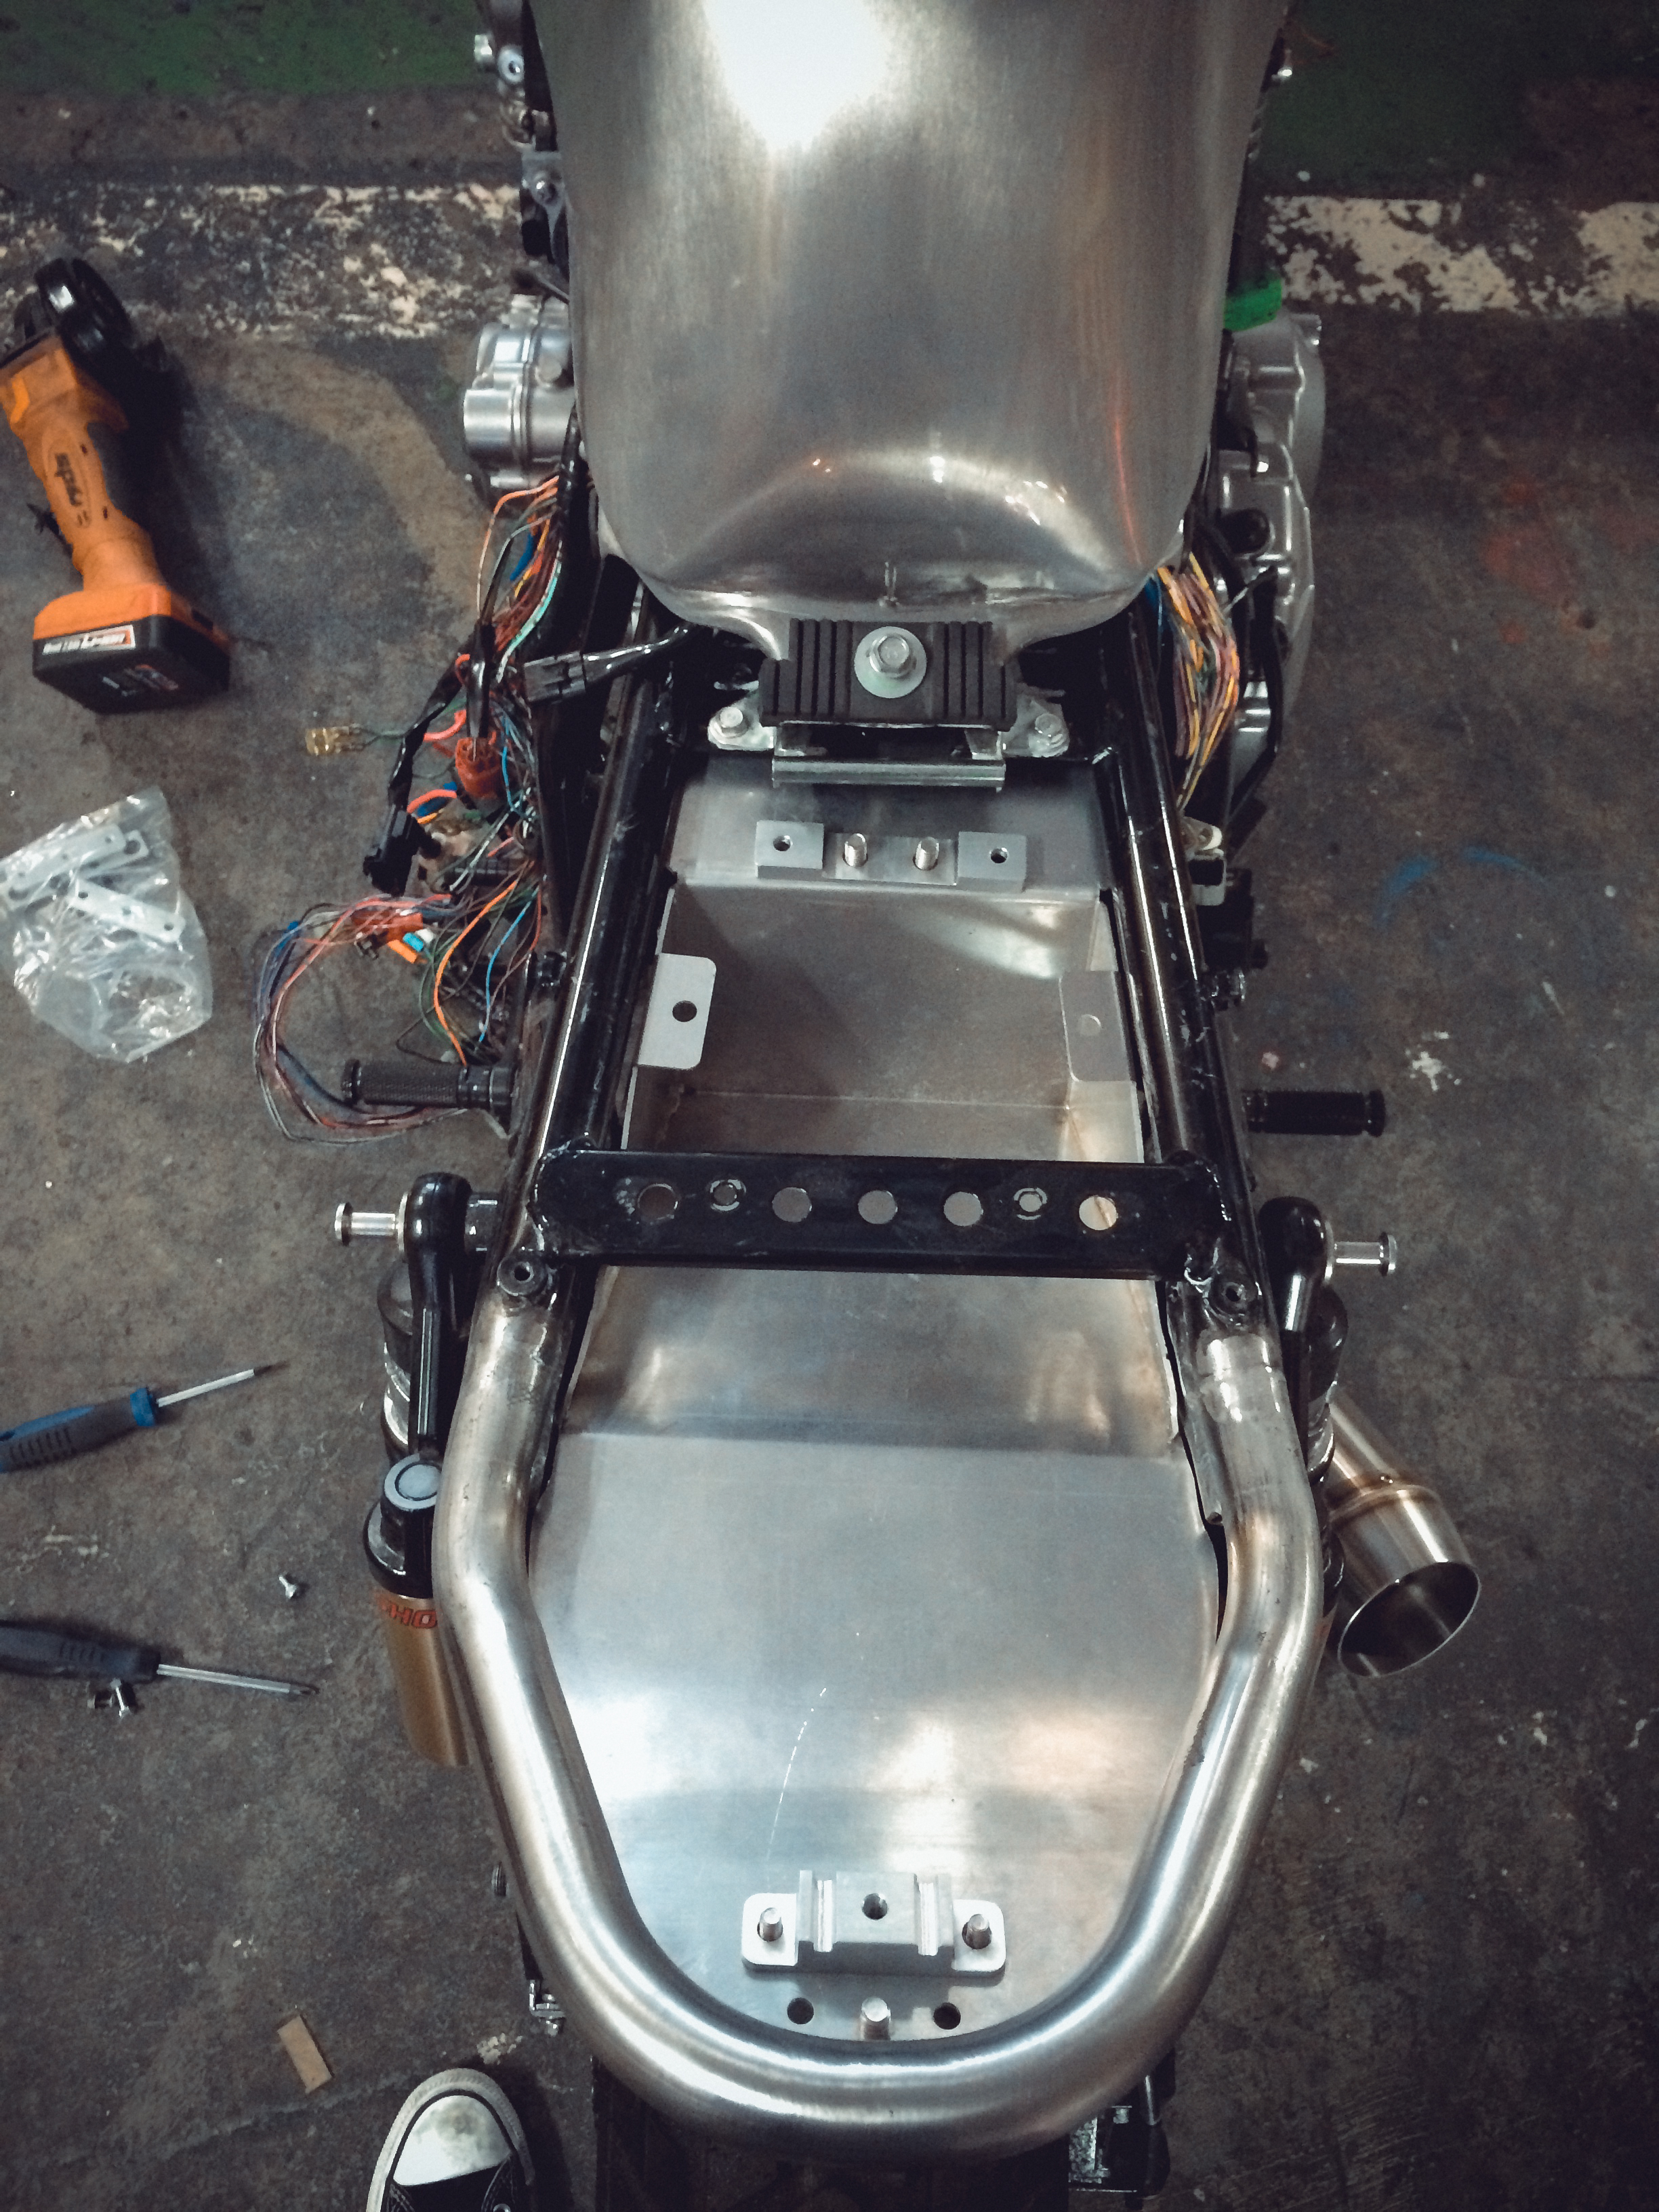
REAR & MISC
Parts have finally arrived from the fabricators. These include; a redesigned seat pan & under-seat storage, a rear tail light assembly, rear suspension risers, and a plate that will cover the regulator rectifier. The indicators and white number plate LED, which is located on the license plate were purchased on-line. The red tail light lens was salvaged from another tail light off ebay. The seat pan interlocks with the under-seat storage and can be locked using security fasteners in a discreet manner. This means the seat-pan & seat when upholstered can be securely fastened. To allow for enough clearance between the rear tire and tail light, the rear suspension had to be lifted, resulting in a more aggressive stance and enough space for the bike to go over potholes safely... I hope.


THROTTLE BODY
Having painted everything, the throttle bodies really begged a cleanup. Stripped them down and gave them a makeover. I quite like the black pods, and since they were designed for a 50mm intake, I had 35 to 50mm adapters made.


REASSEMBLY
Collected parts back from the painters. 2pac paint on the frame and sprayed engine. The stock engine, althought looked pretty clean in photos, was rather dirty and messy. Thanks to the guys at the Kommune for giving me a hand with putting the engine back into the frame.


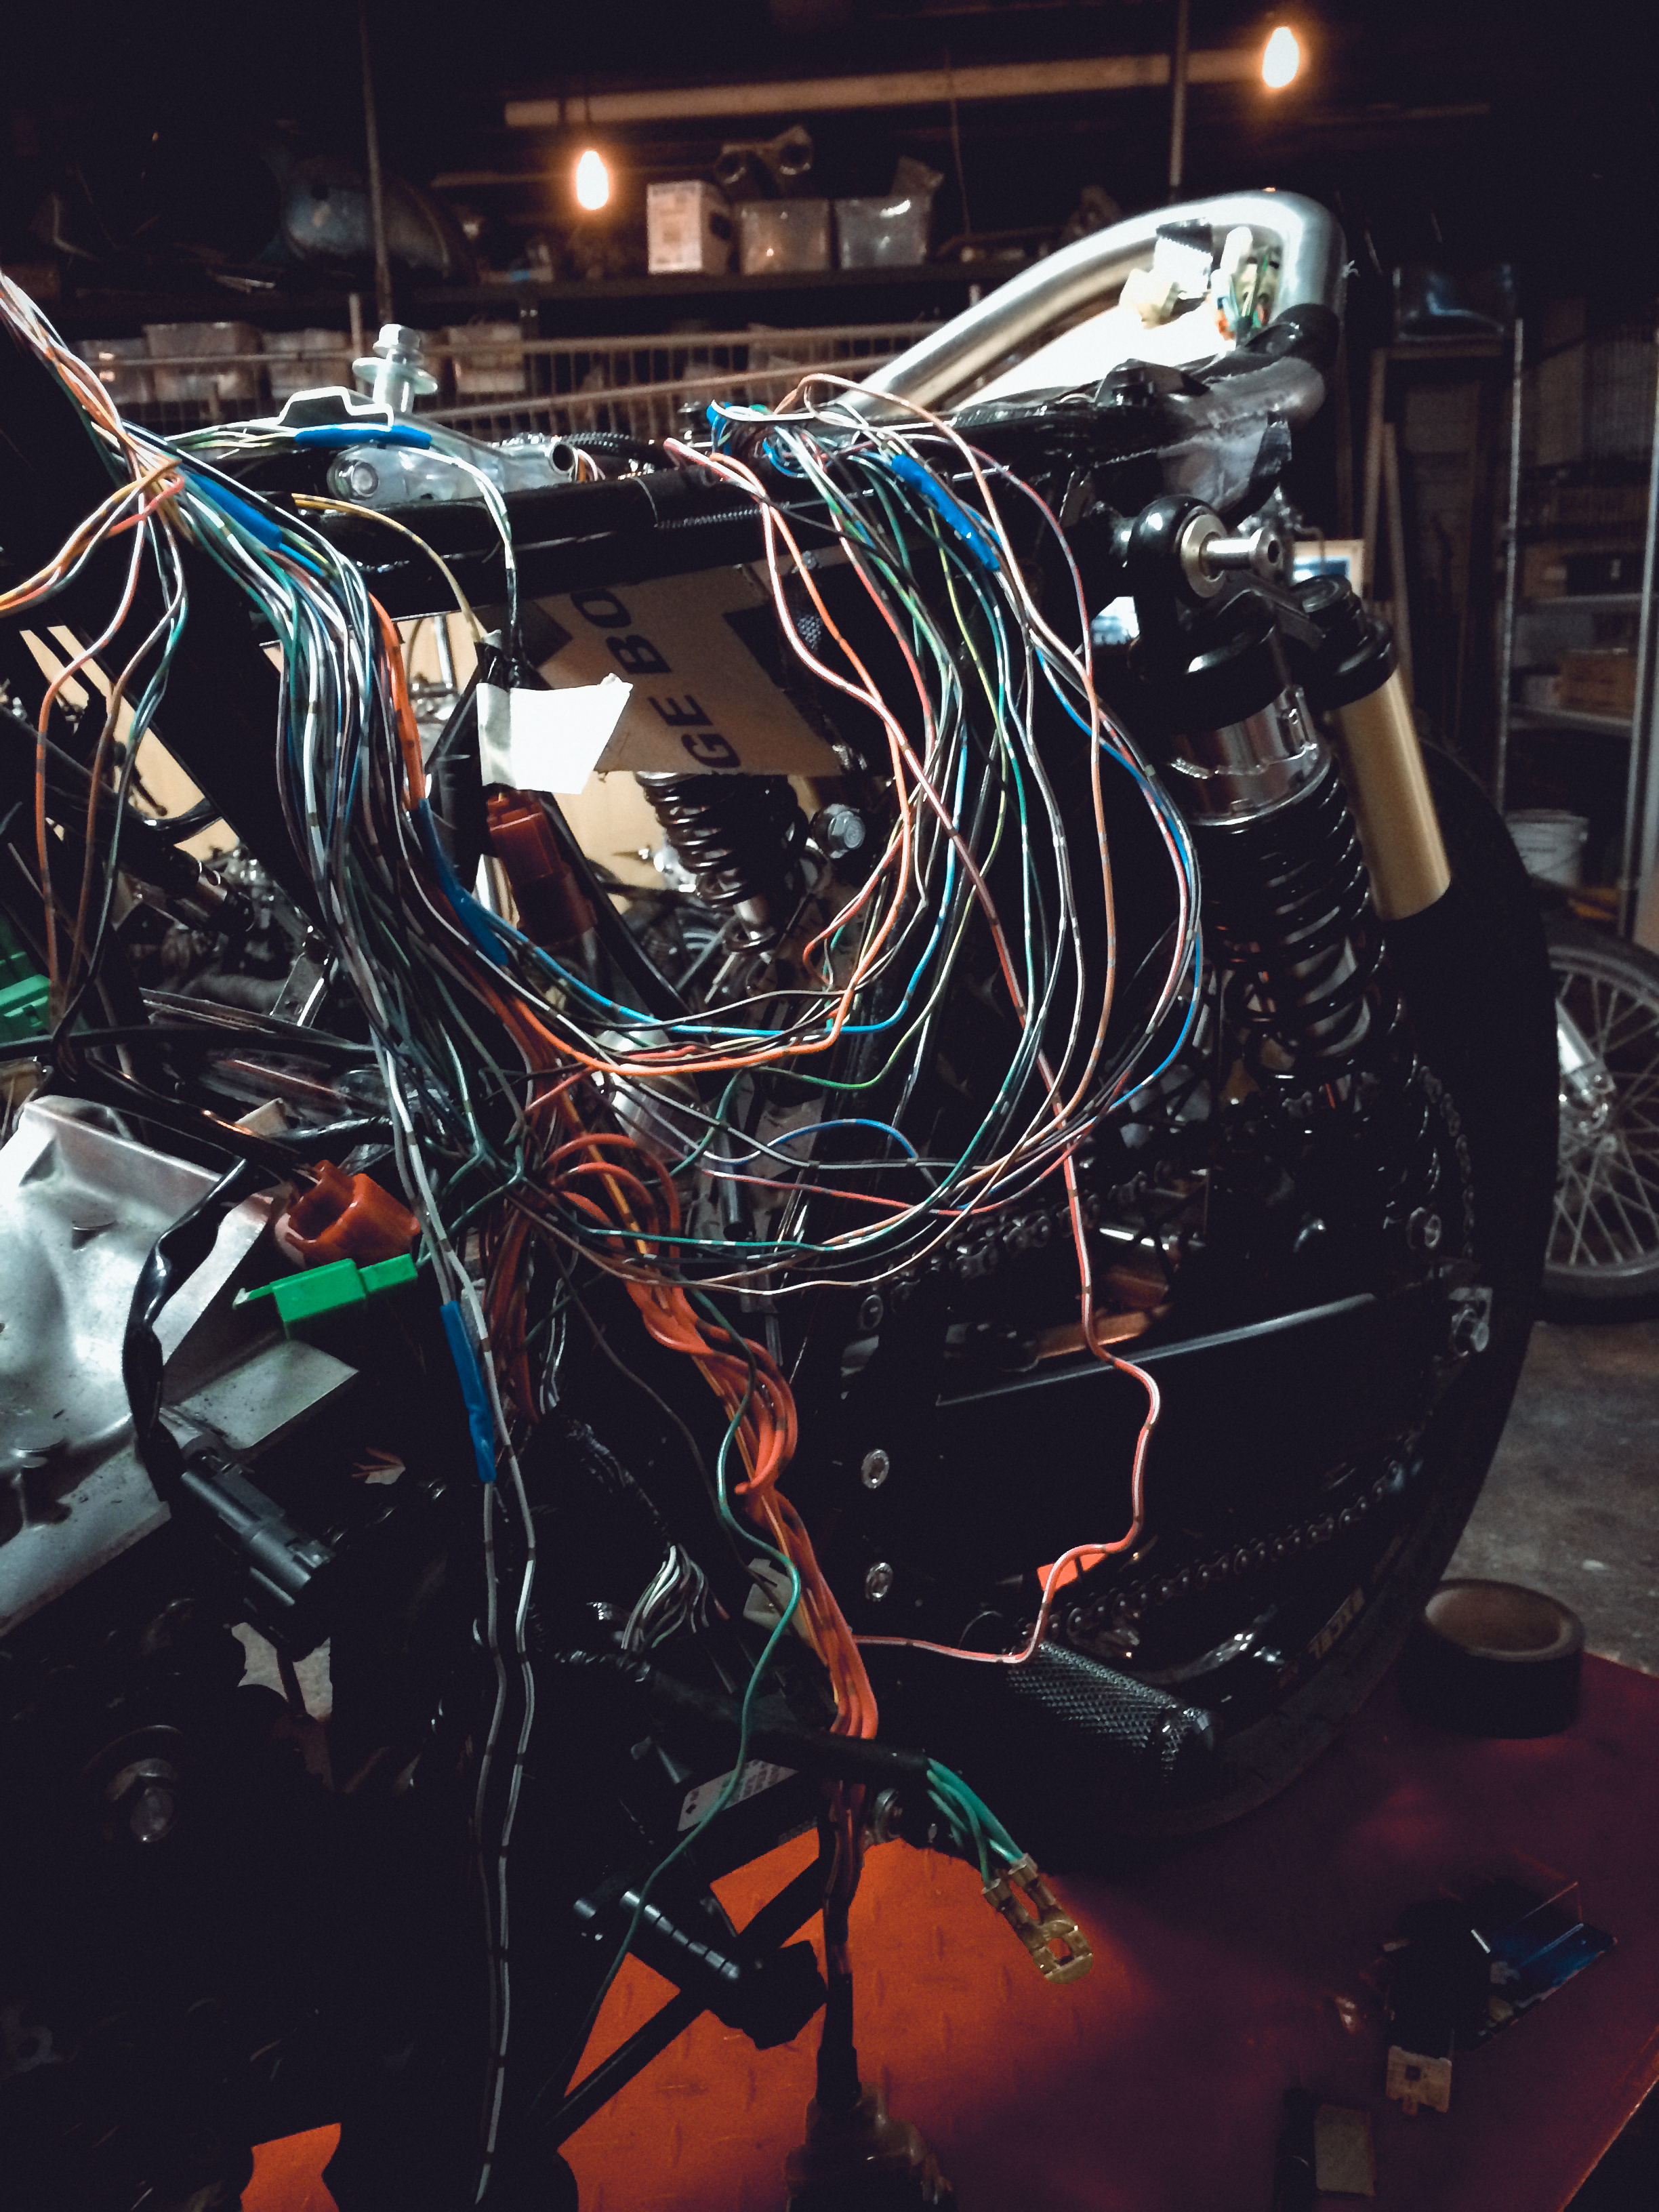
ELECTRICS
TIme to trim the wiring. This took about 2 weeks to finish. It's not a job you want to do very often. Will post the finished wiring when the bike is back together. It's time to take the bike apart to blast & paint.


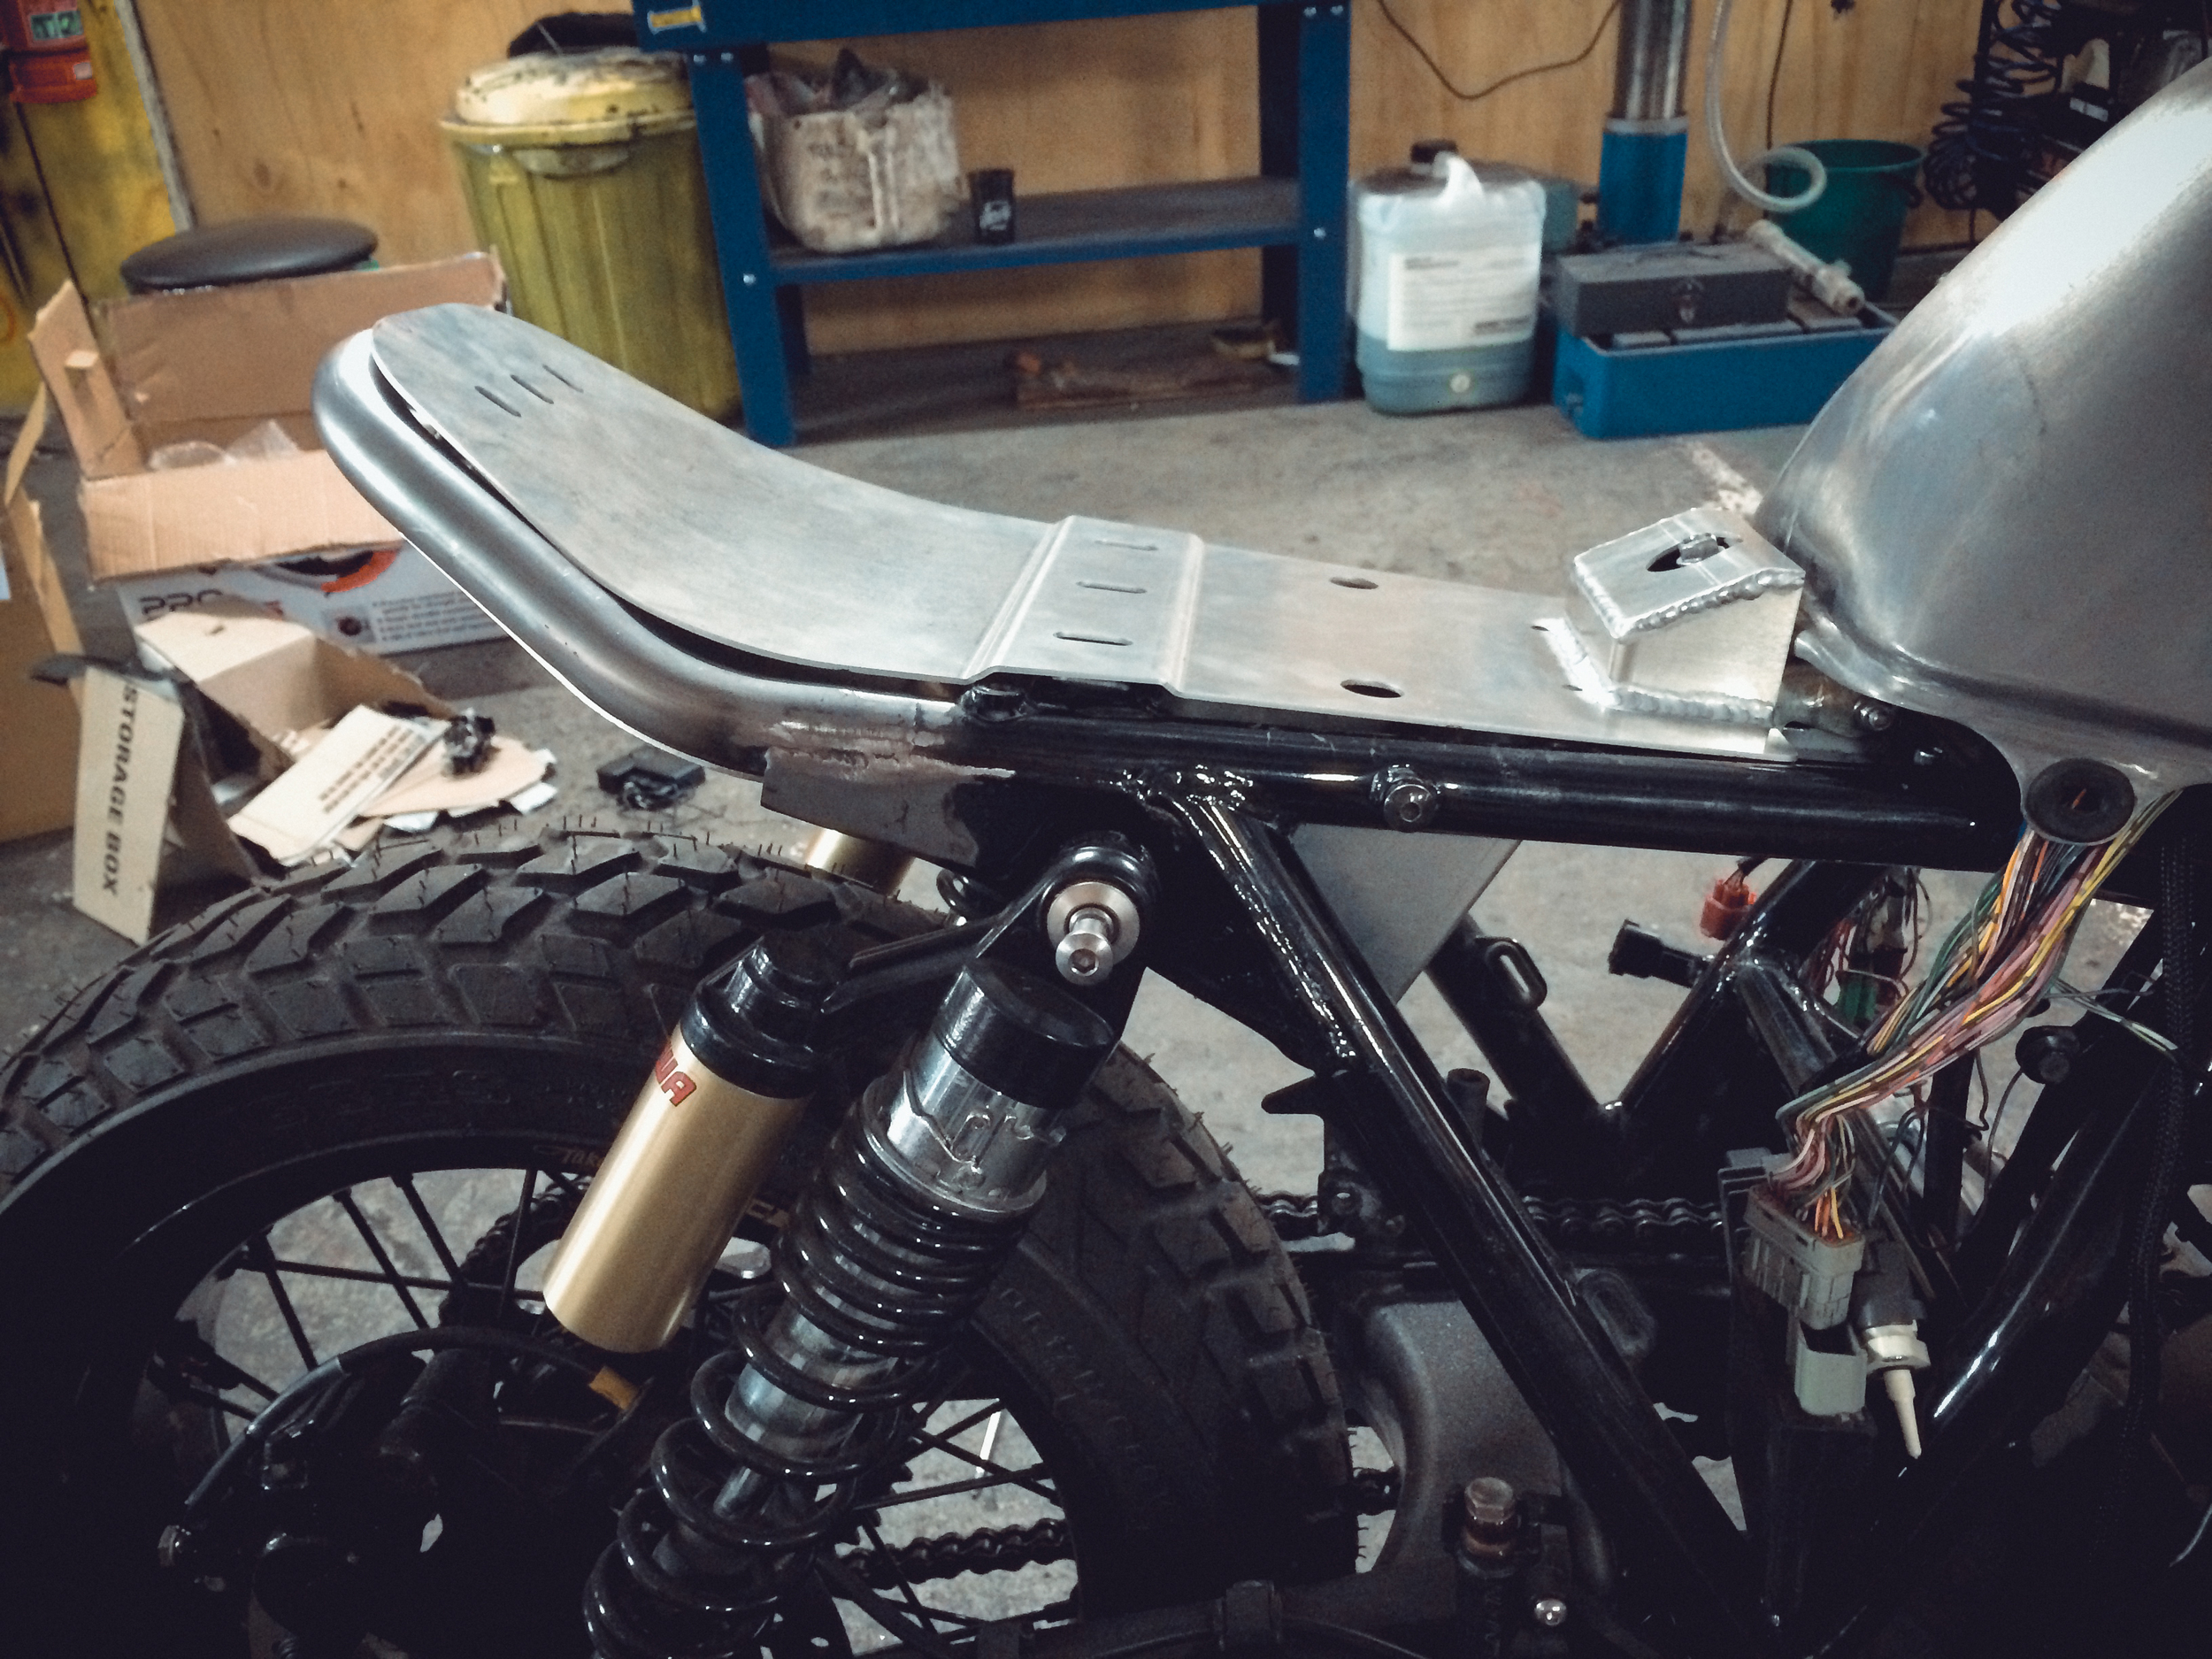
SHEET METAL
Fabricated sheet metal work had arrived so went ahead and did a quick fitment test. At the time I thought I was done, but down the track I noticed cracks forming in areas that were bent and not supported. I went ahead and redesigned some of the parts in steel and gussets to strengthen areas of weakness.


SEAT PAN & STORAGE
After Installing the loop, I went ahead and made cardboard mockups to assist me with sheetmetal parts that I planned to bend.


LOOP
It's been a while since I've posted an update. Here are a few shots from when the rear loop fitting. It bends in 3 directions to conform to the shape of the frame hence the standard "U" shape loop couldn't do. I've attached an image showing the evolution.
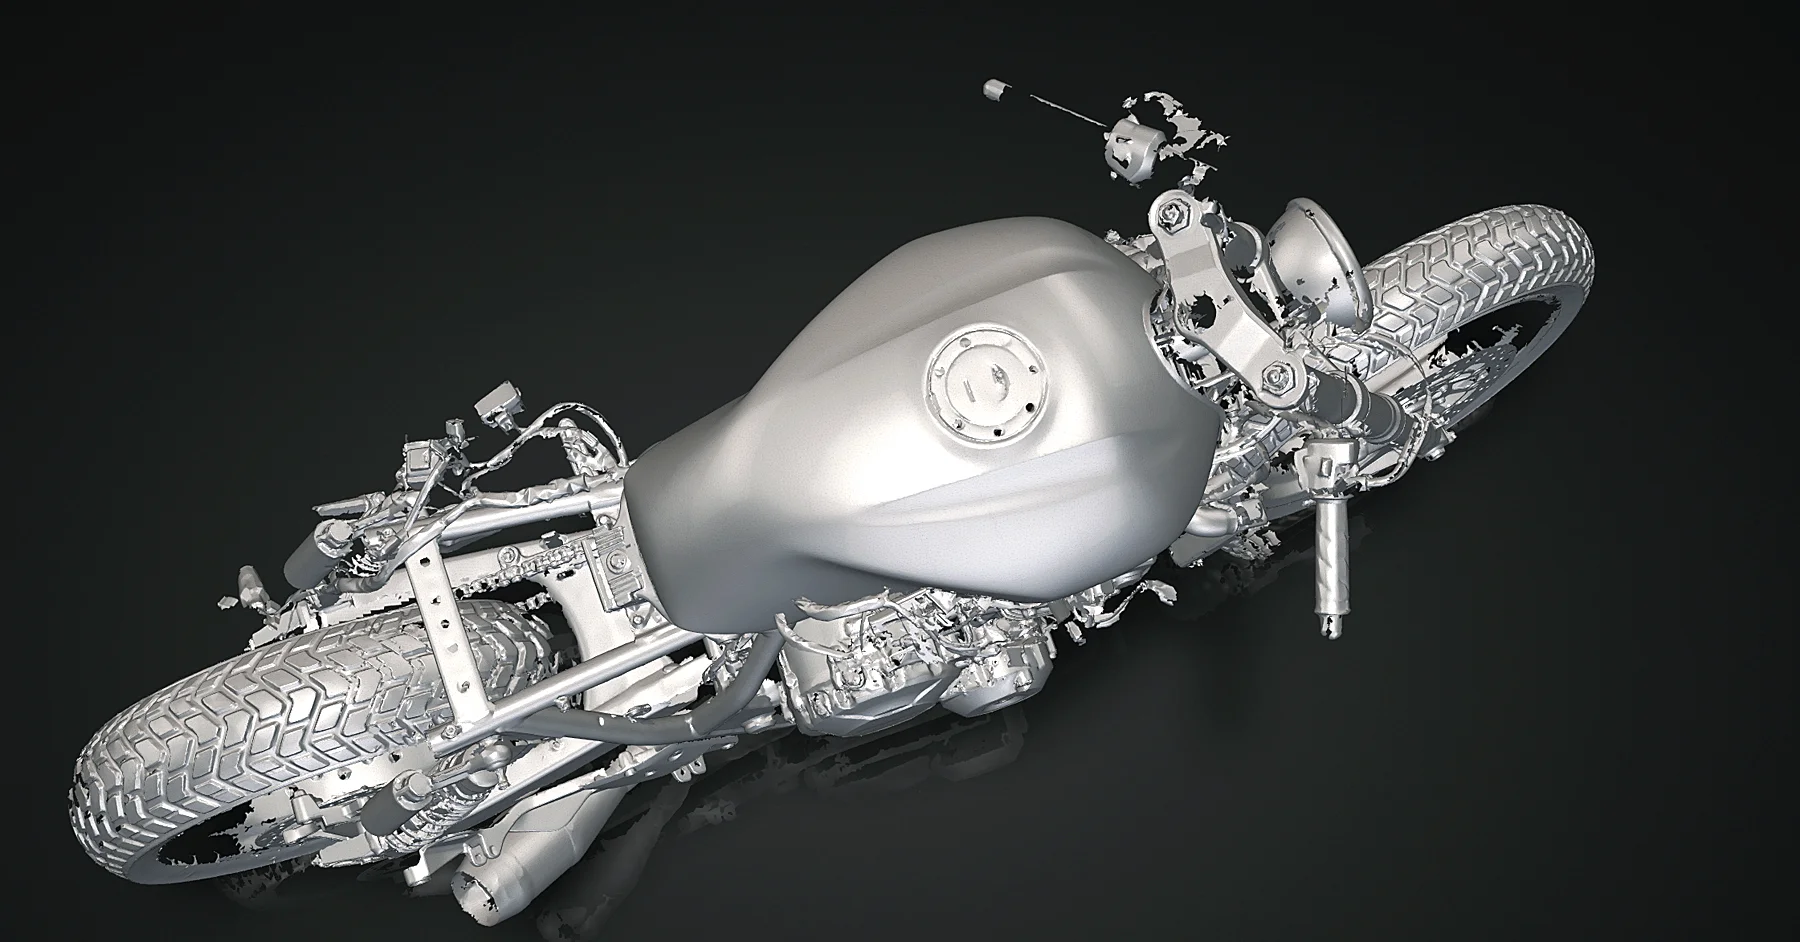
LASER SCAN
Having worked with 3D scan before I decided I'll take a modern approach to building custom parts for the bike. Reverse engineering parts to highly accurate scan will allow me to design and manufacture parts that are otherwise unavailable, such as a custom sprocket housing. Having the bike in 3D also helps pre-visualise what it will look like with a custom rear end, this saves having to test rear loops and forming foam to see what the seat will look like.


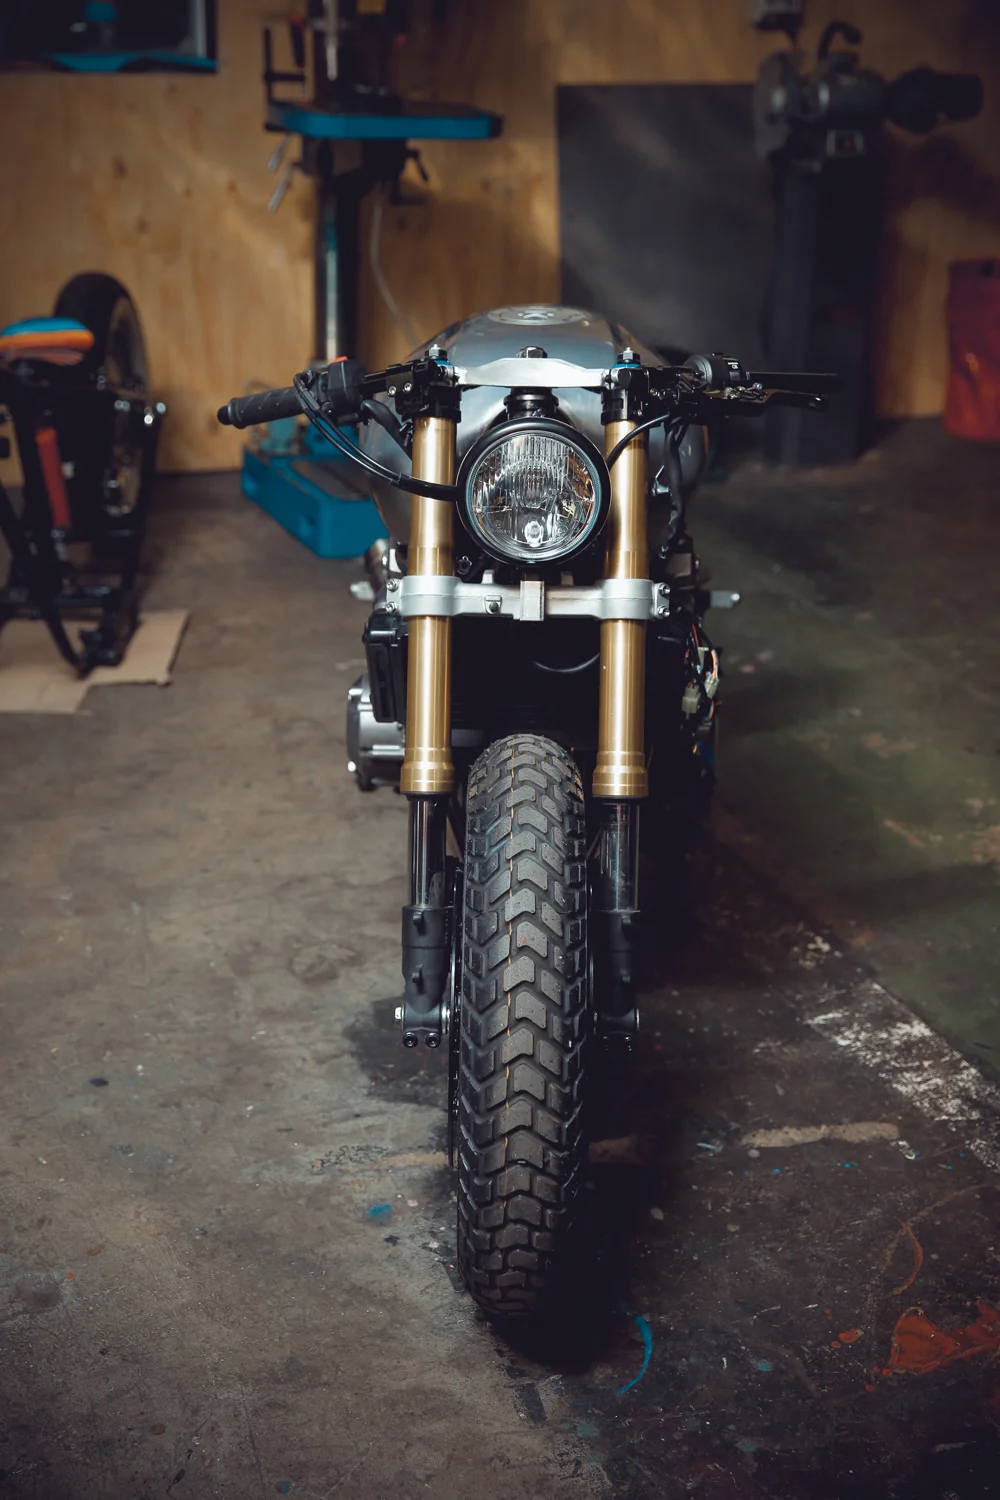
WORKSHOP
Joined the Kustom Kommune here in Melbourne a few months ago where I've been slowly adding and subtracting parts on the bike. The bike has lost the airbox to make way for pods which are due to arrive any day. The custom wire wheels have arrived from the US and have been fitted with the chunky Pirelli tires. Custom headlight bracket has been fabricated mounting the headlight to the bottom yoke. Rear frame received a trim and the exhaust has been cut and welded. Rear calliper bracket also received a mod to allow for the custom wire hubs to mate with the swing arm. Still ahead, the rear loop, custom seat, custom sprocket cover housing, cnc'd fuel cap and front fender. List feels like its ever growing, but it's starting to come together!

CALLIPERS
Stock callipers looked aged a damaged. Decided that it would be best if they got stripped and redone with a fresh coat of paint. Priming took a week to dry, followed by a few coats of calliper paint and then an hour in the oven to cure.


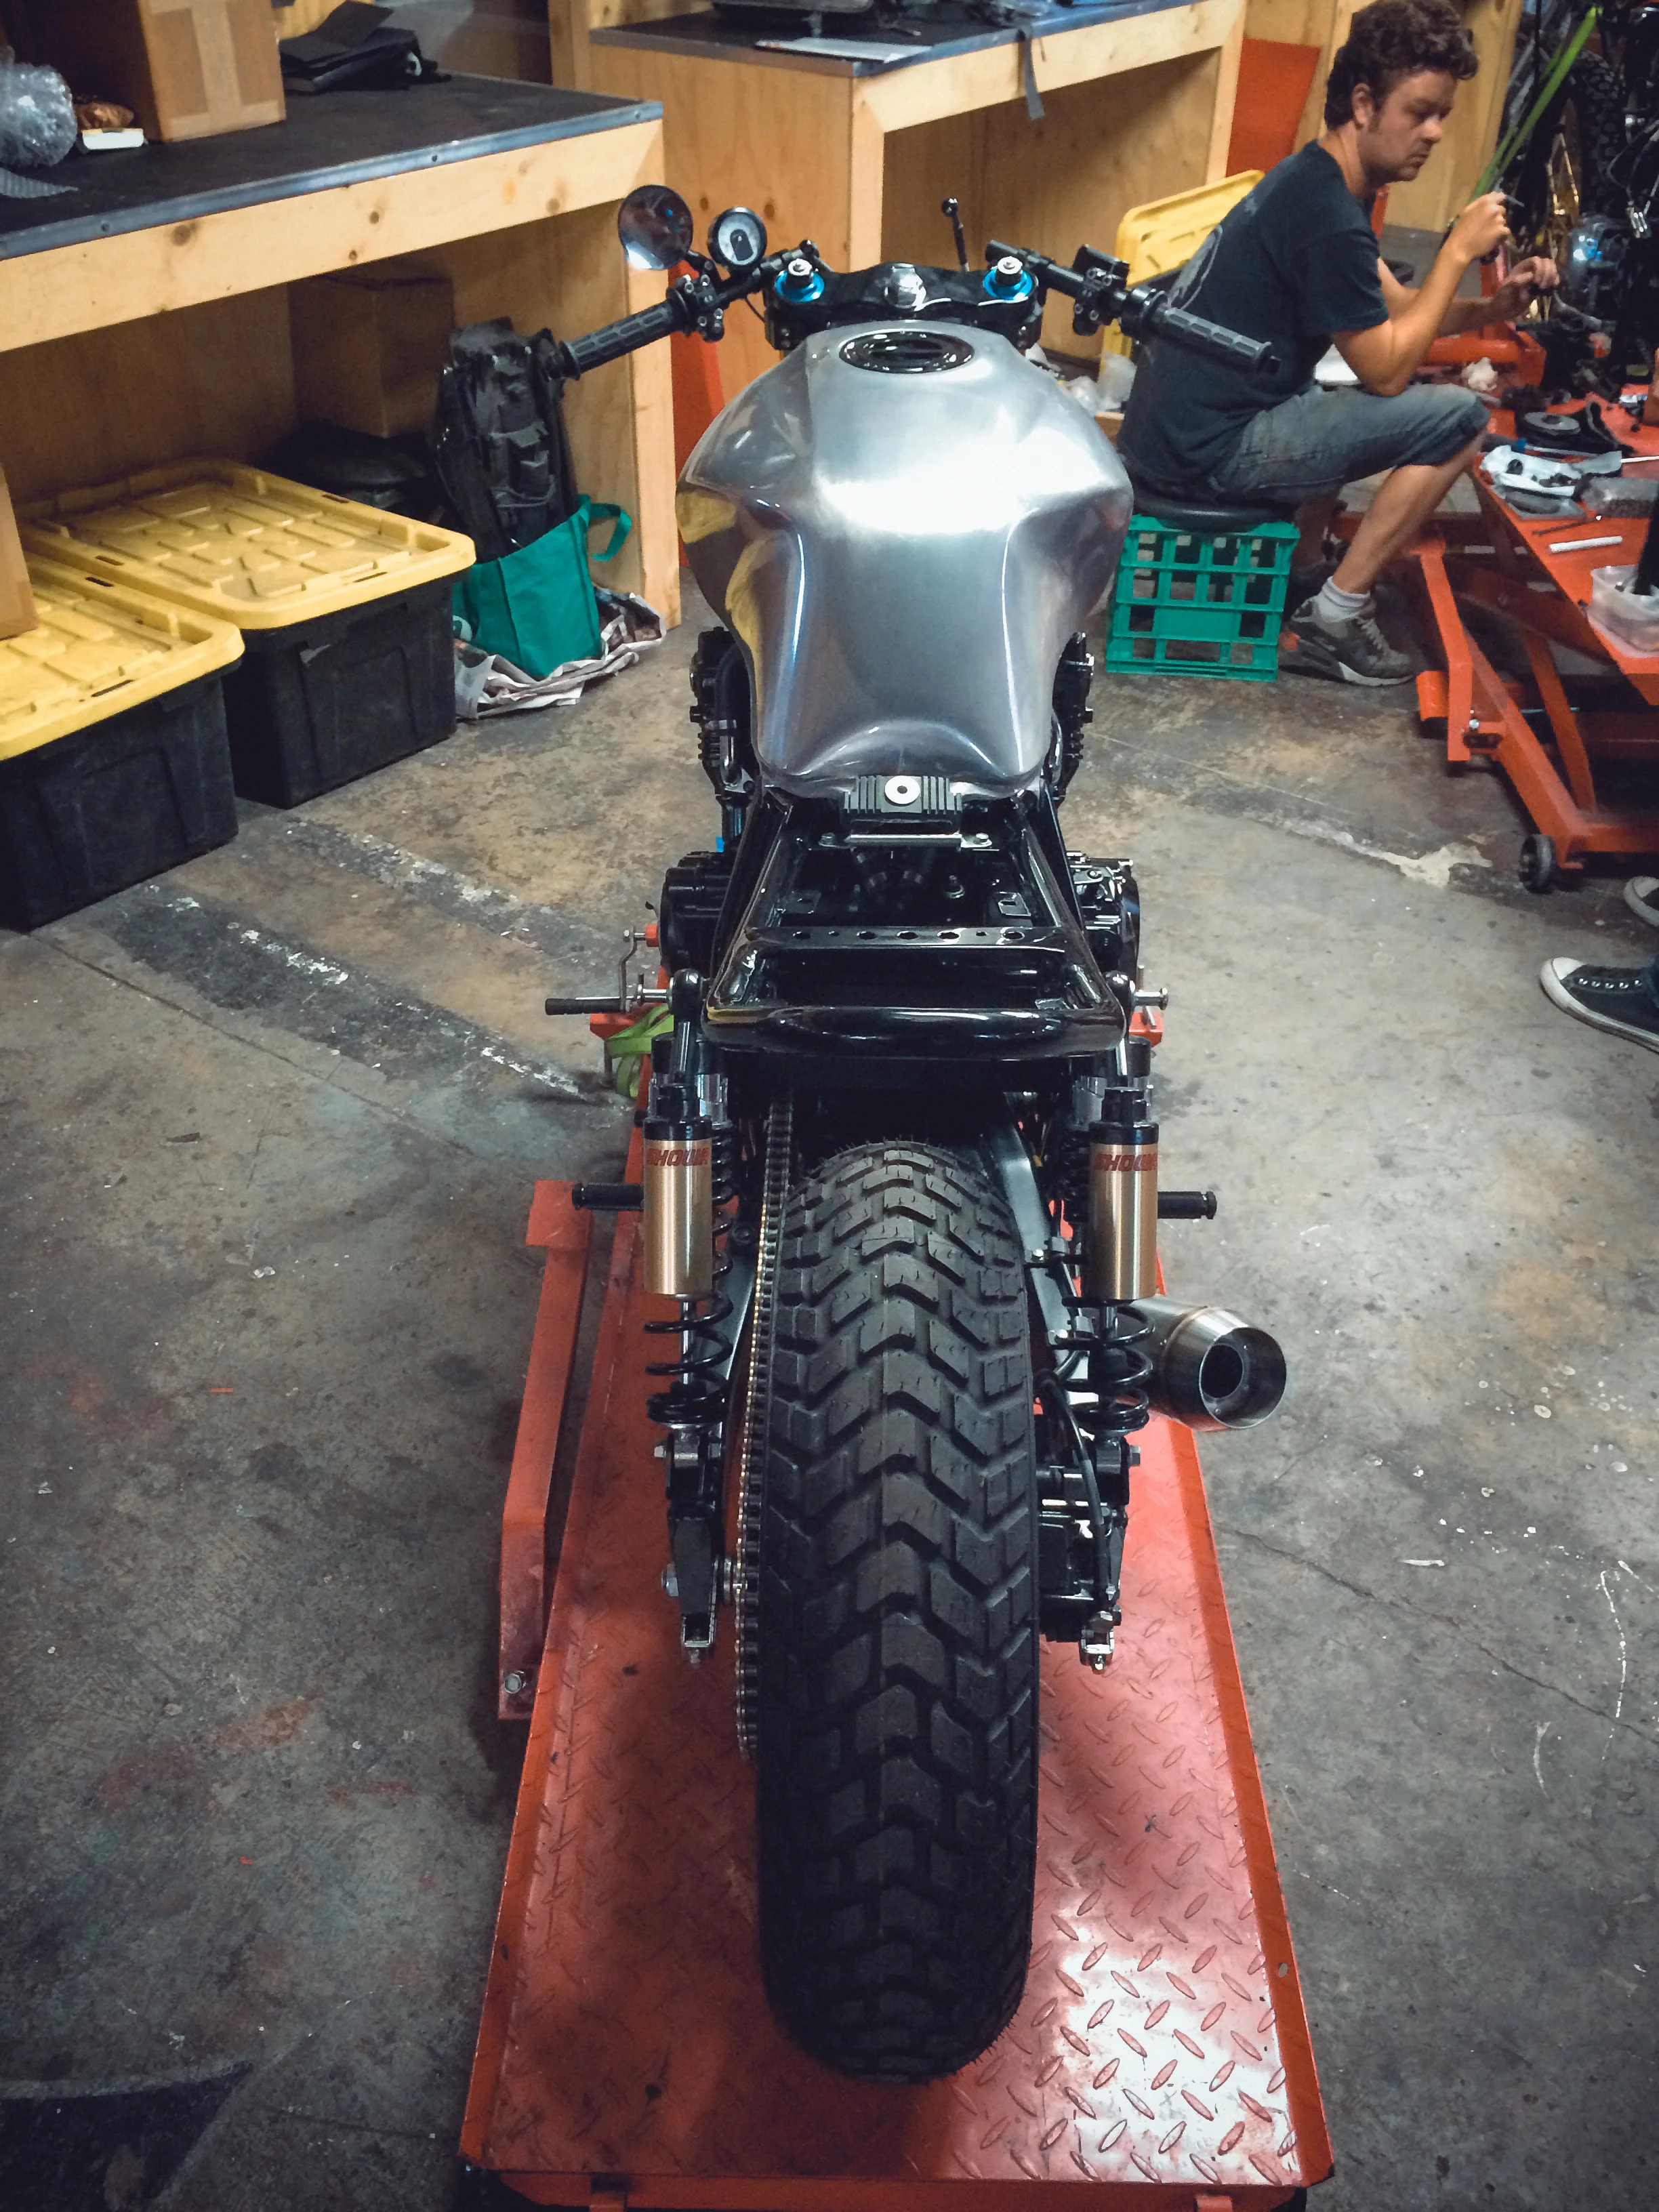
WHEELS
Finally got the tires fitted onto the alloy wheels. This meant the bike could go back together.. which meant I could do some quick photoshoping. The large image is an edited photograph of what I'd like the bike to look, the following images show where the bike build is actually at. Still a bit to go with the little bits and pieces but definitely getting closer.


